Search for answers or browse our knowledge base.
Replacing a Saw Blade
Supplies Needed
- Torque Wrench or Ratchet with 20ft lb. setting
- T40 TORX BIT
Warning: Before entering the saw make sure you have engaged the emergency stop with the key and take it with you as well. Always lock out, tag out the machine during maintenance in accordance with all local and/or company policies.
To change the blade on a Retro C you need to use the blade change feature on the maintenance screen. This will move the saw to a position that is easy to get to the blades
To replace the blade the steps are basically identical for all the blades.
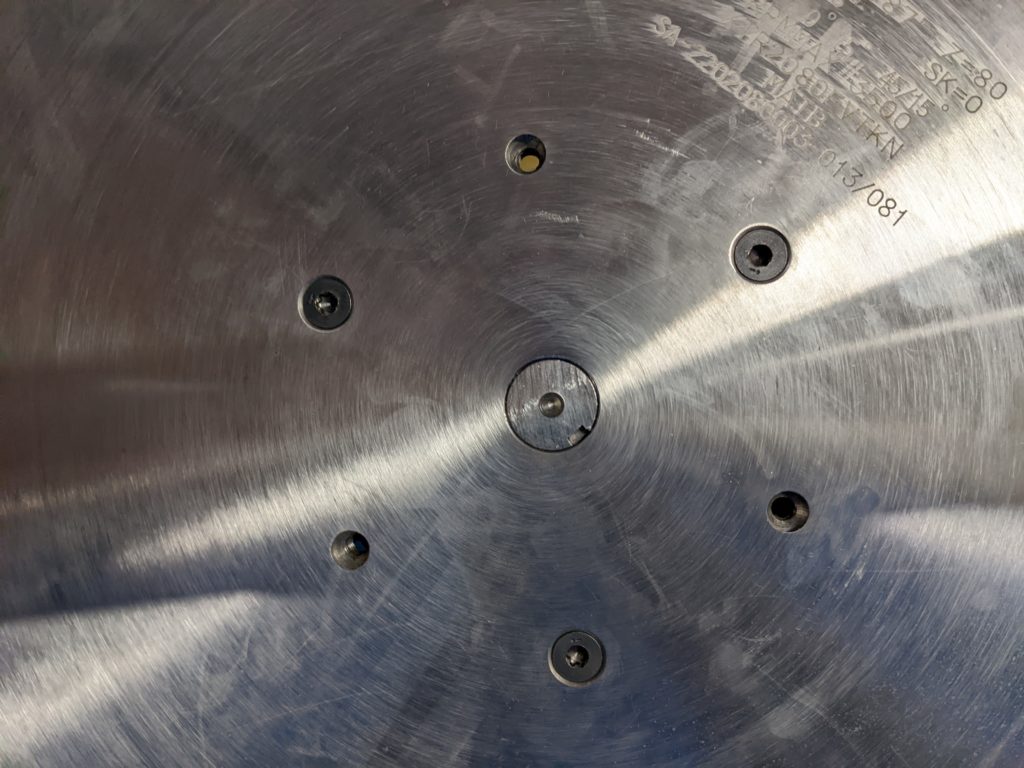
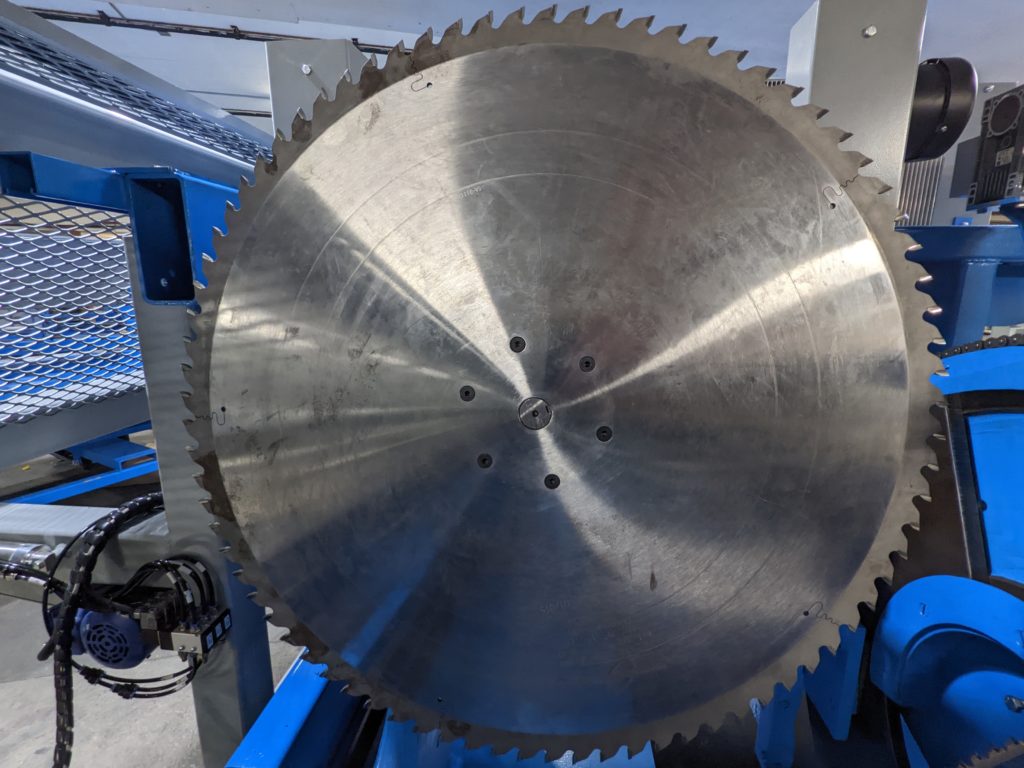
- Reattach the blade to the saw with 3 screws (Blades 1,2,3,4). Blade number 5 gets (6) screws. Make sure the blade is attached with the teeth cutting toward the front of the saw (where the operator is standing). Put 3 screws into the three holes that are countersunk. The screw heads will NOT stick up past the plane of the blade if the correct 3 holes are chosen. Note: If bolts are over tightened, they can shear off.

- Use your torque wrench to tighten each of the screws down to 20ft lb.
- Remember Blade 5 will use all 6 screws

It is recommended that you replace the bolts every 8-12 months or as needed depending on your usage or if the heads of the bolts start to show wear from use.
Notes
The small blades must all be the same thickness and it is good if they are the same tooth count.
All of the blades must cut the lumber in the downward motion which means on the side where the material enters the teeth must face the ground.
The blades should have a slight draft which means the front of the blade should cut the material and the back blade should not.
The bolts must be torqued down to 20ft lbs for safety purposes.
The blade should be flat with no teeth missing.
We recommend that every time you are replacing a blade, you also check to make sure that they hub is not loose. You should never try remove or loosen the hub, ONLY tighten the bolts!
- Hubs with bushing size #2517 should be tightened to 35.8-39.4 ft lbs. (most common type) (larger)
- Hubs with bushing size #1215 should be tightened to 14.6-16 ft lbs (old style) (smaller)