
Search for answers or browse our knowledge base.
Retro C Sticker Printer Overview and Operating Modes
The Retro C sticker printer replaces handwritten lumber information with labels generated directly from the saw’s cut list. Depending on the mounting location and software option, it can support the sawyer, the catcher, or both during production.
Front-mounted operation
- The printer produces 3 × 2 labels just in time for the sawyer.
- The look-ahead information lets the sawyer review upcoming lumber while applying labels.
- The printer presents one label and waits for it to be removed before printing the next.
- An automatic take-up reel collects the excess liner inside the printer.
Rear-mounted operation
A rear-mounted printer produces the appropriate label as the board is set up so the catcher can apply it. This works well for manual boards, but it does not provide the same sawyer-side look-ahead workflow as a front-mounted printer.
Direct-thermal printing
The printer does not use ink or toner. Its direct-thermal printhead darkens heat-sensitive label material, so the correct direct-thermal labels are required. Replacement-media pricing can change; confirm current label cost and part specifications with Enventek.
Sticker information
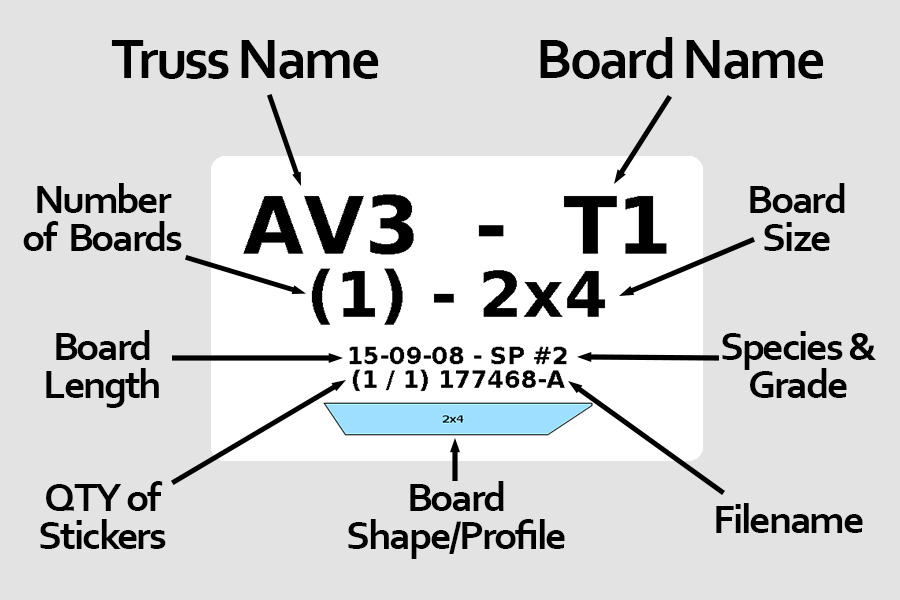
The sticker can include production and board information from the cut list. The layout shown below is configured by the Retro C system and is not intended to be rearranged by the machine operator.
Mounting and protection
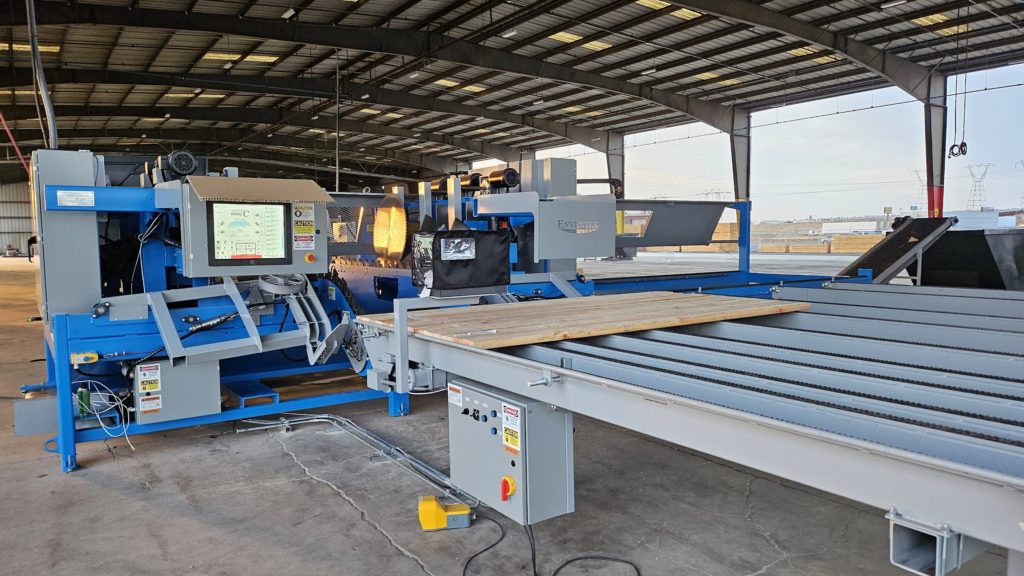
The printer may be mounted on the sawyer’s side or catcher’s side. A support arm positions it above the table and lumber, and the dust cover protects it during operation.
Peel-off operation
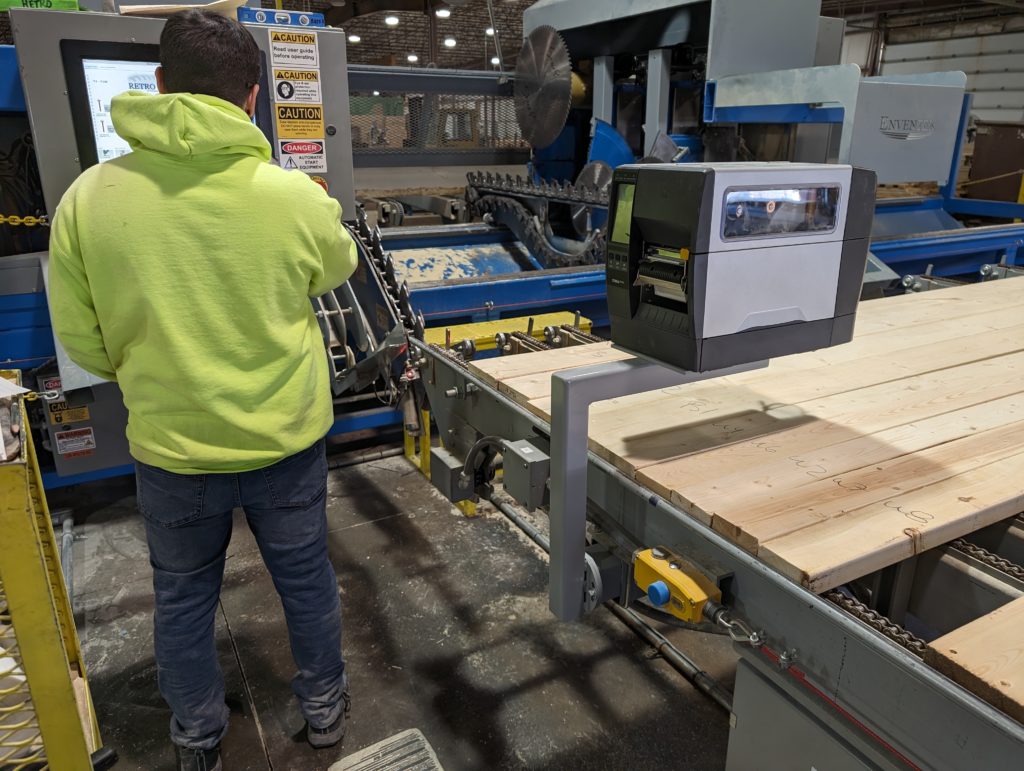
The peel-off mechanism separates the label from its backing and waits for the operator to remove that label before printing another:
This production example shows the sawyer applying a sticker to every board:
Quantity options
- Every board: one sticker is printed for each board.
- One per setup: one sticker is printed for the first or last board in a saw setup.
- Two per setup: one sticker can be placed on the first board and one on the last board.
- Every other board: one sticker is printed for every second board.
- When the software combines identical boards with different names into one setup, additional labels may be generated for those names.
Daily operator checks
- Confirm that the correct label roll is installed with the printable side facing up.
- Keep the sensor, rollers, label path, and take-up reel free of dust, adhesive, and torn liner.
- Verify that the printer waits for label removal and that the next label advances correctly.
- Keep the dust cover and mounting arm secure.
- If the printer reports a constant blocked sensor, misfeeds labels, or prints incorrect cut-list information, stop and correct the source before continuing the batch.