How Can We Help?
Search for answers or browse our knowledge base.
Replacing a Centerline Gearbox
It is very rare that a gearbox will go bad but if that does happen or you are upgrading to one of our newer 100-1 gearboxes this article will instruct you on how to replace yours.
Step 1: Remove Blade or Blades (OPTIONAL)
- We recommend removing the blade or blades that you are going to be working in and around as a safety measure and to make your job easier but this is optional. If you decide to remove a blade please click on the link and follow the instructions on this page (How to Replace a Saw Blade)
- NOTE: this might be a good time to sharpen the blades or install a new blade.
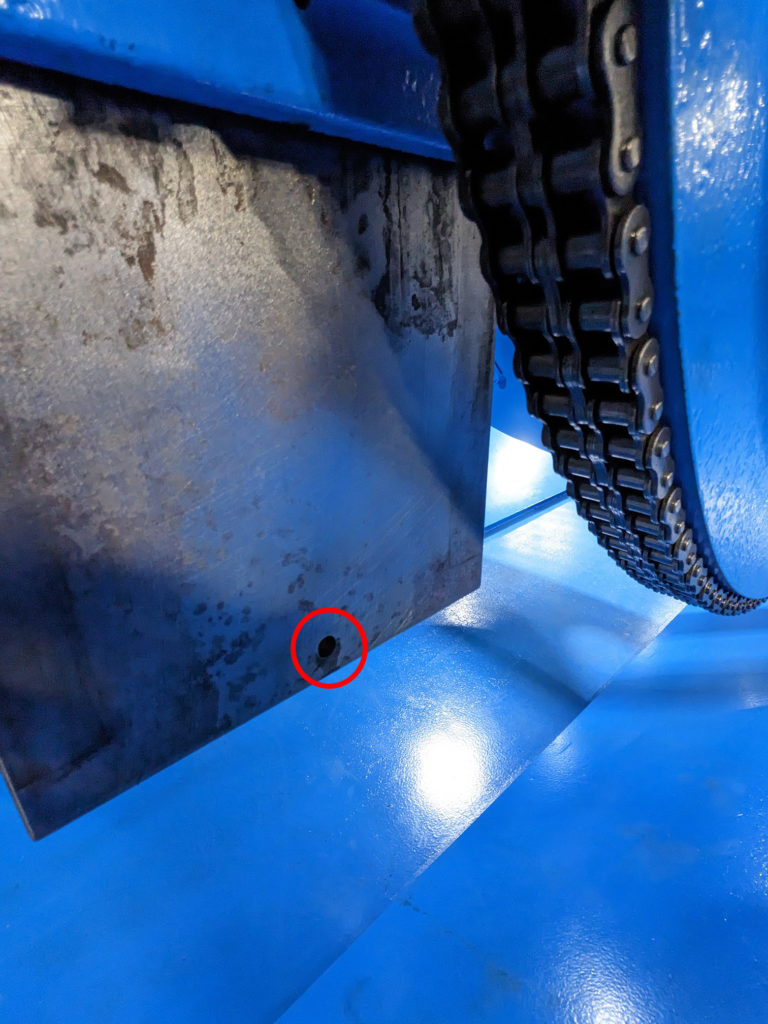
Step 2: Insert Bolt into the bottom of the Centerline
- This bolt is used to rest the centerline on while you remove the motor and gearbox.
- We use a 5/16 x 1-1/2 bolt with a 5/16 nut and an oversized 3/8 nut to give us extra surface area for the centerline to rest on.
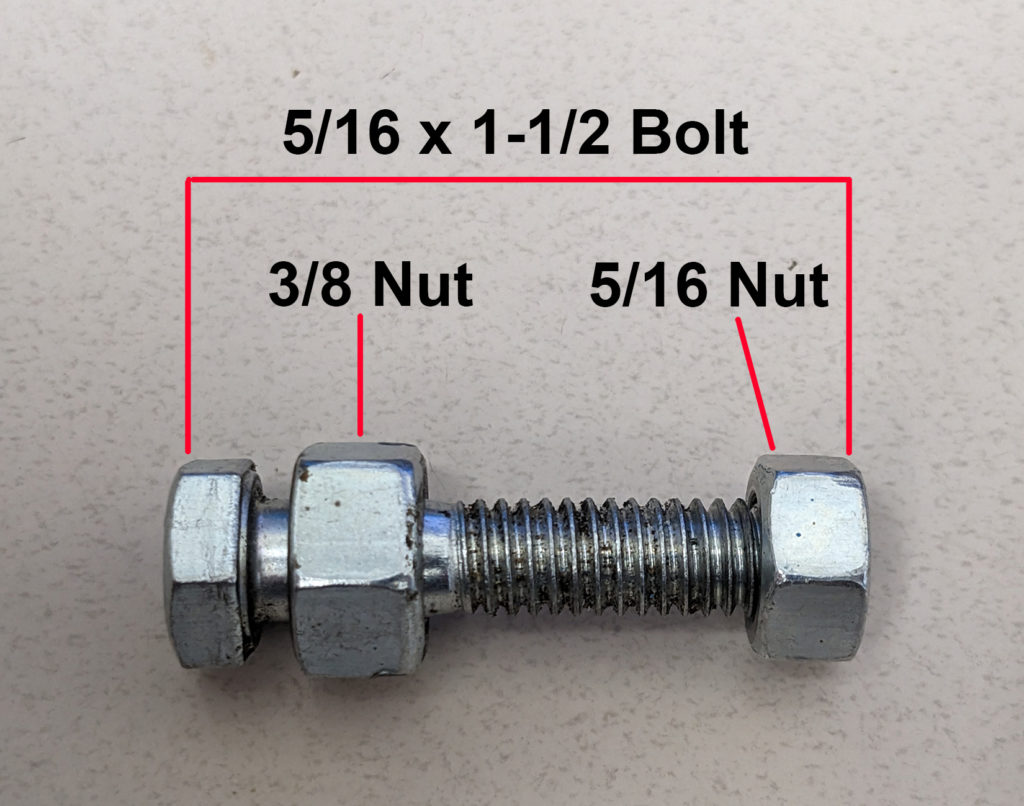
- Slide the bolt through the bottom of the centerline in the location circled below.
- NOTE: the 3/8 oversized nut is on the same side as the bolt head (this side, in the picture below). The 5/16 nut on the far side, holding the bolt in place, so it can’t slip out of the hole.

- Once the bolt is in place use the manual controls to lower the centerline height until it bottoms out/stalls because it is resting on the bolt.
Step 3: Power off the Saw
- Throw the main breaker switch
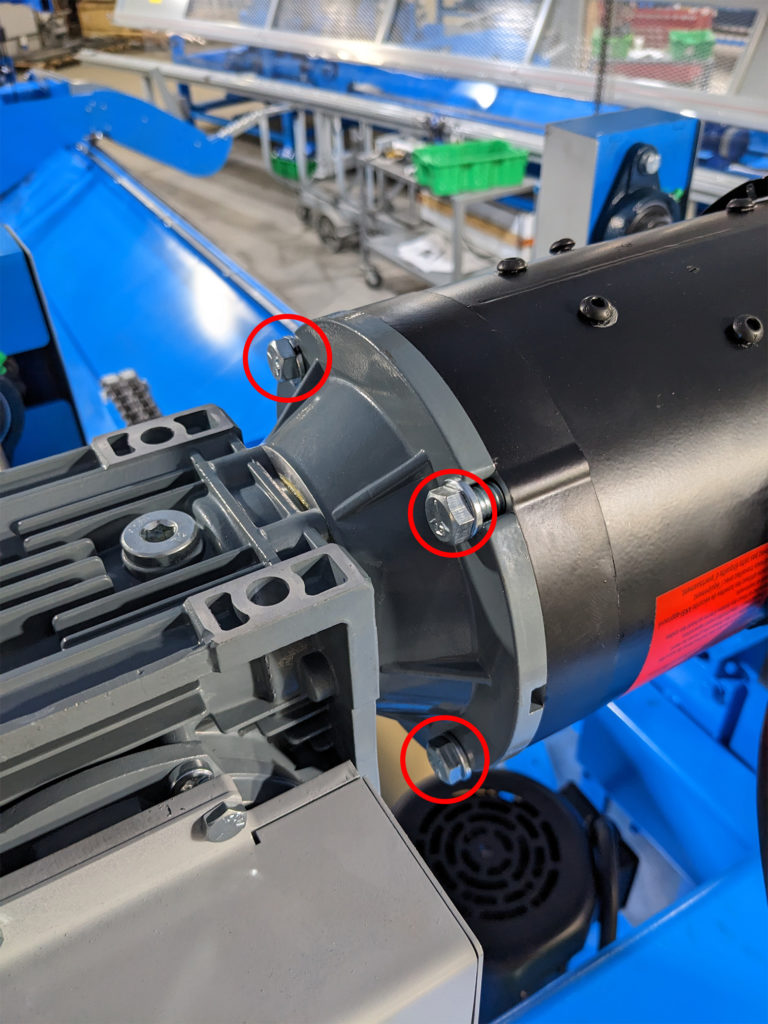
Step 4: Remove the Centerline Motor
- Remove all four of the bolts attaching the motor to the gearbox (only three are shown in the picture)
- Slide the motor off of the shaft and set it down wherever you can (the wires will still all be attached).
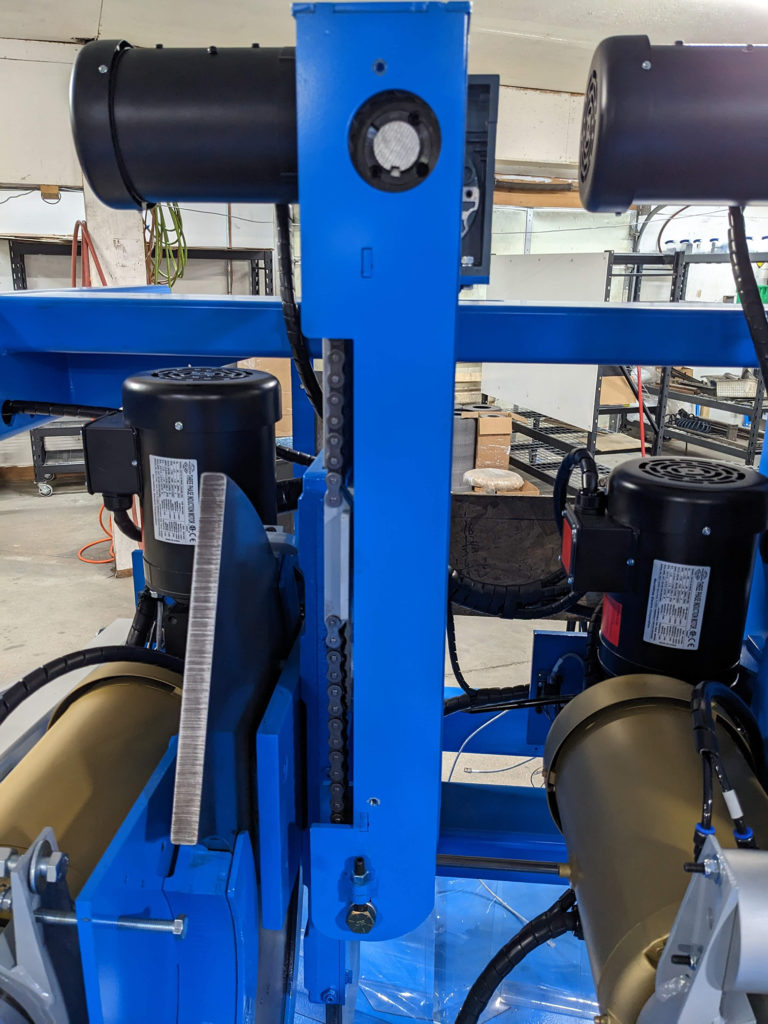
Step 5: Remove the Centerline Chain Cover
- There are 2 bolts that need to be removed to access the centerline chain.
Step 6: Loosen the Chain Tension
- There are two nuts that you will need to loosen and then you can back up both of the Allen screws until the tension is released from the chain.
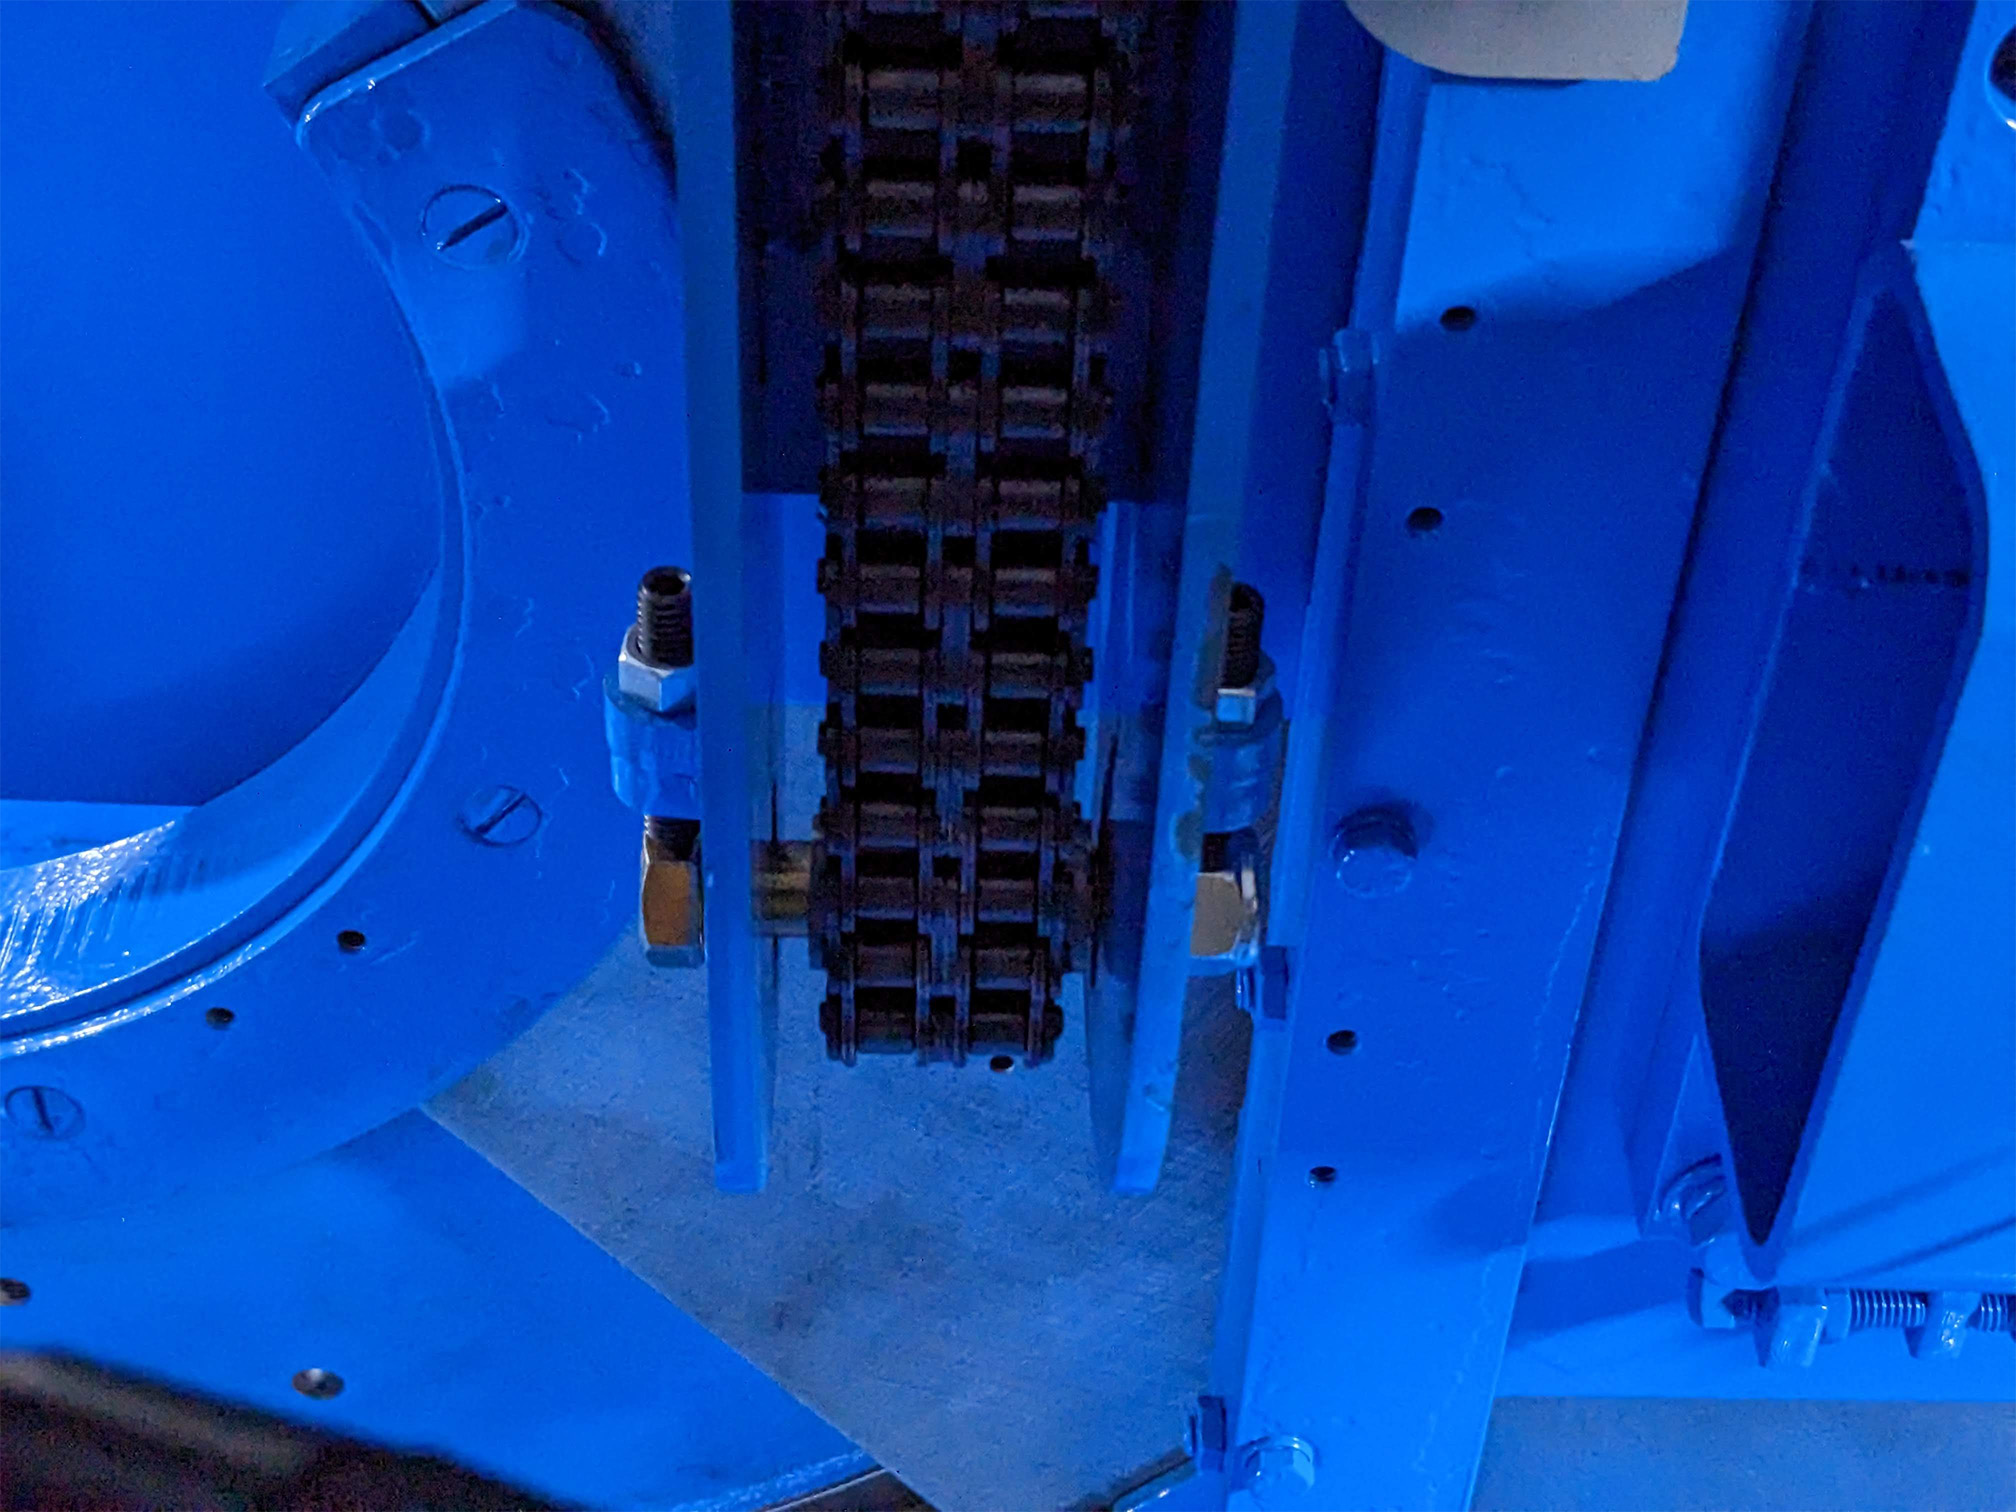
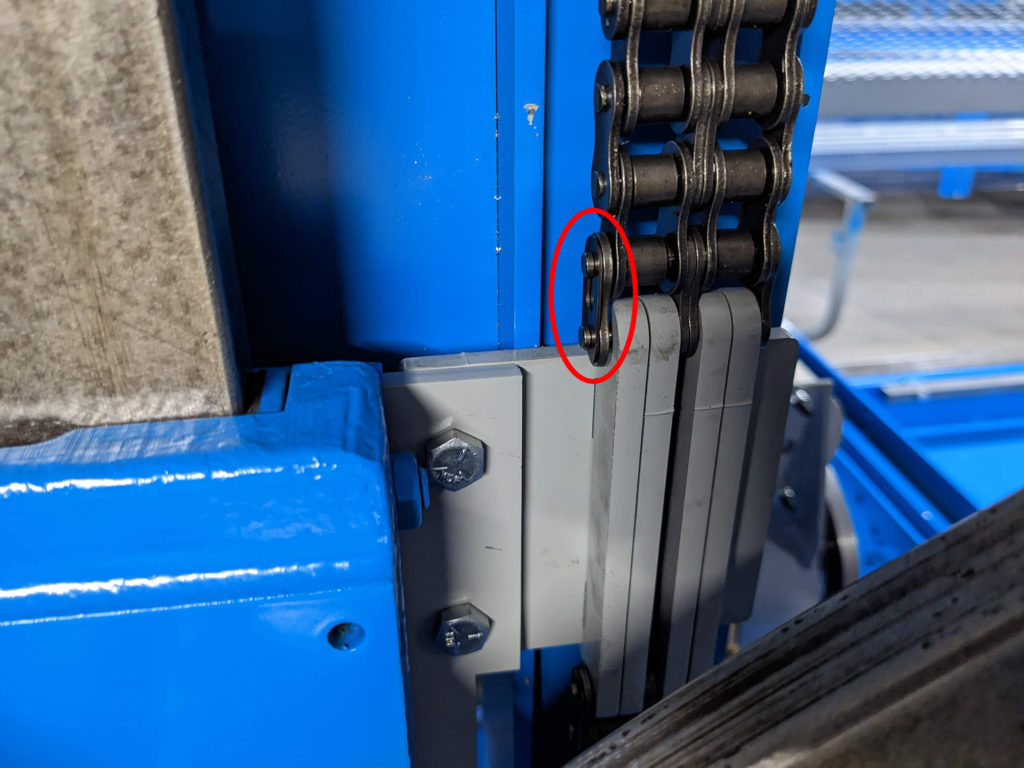
Step 7: Remove the Masterlink and Disconnect the Chain
- Remove the master link and slide the chain up and over the sprocket and let it hang down on the other side of the centerline.
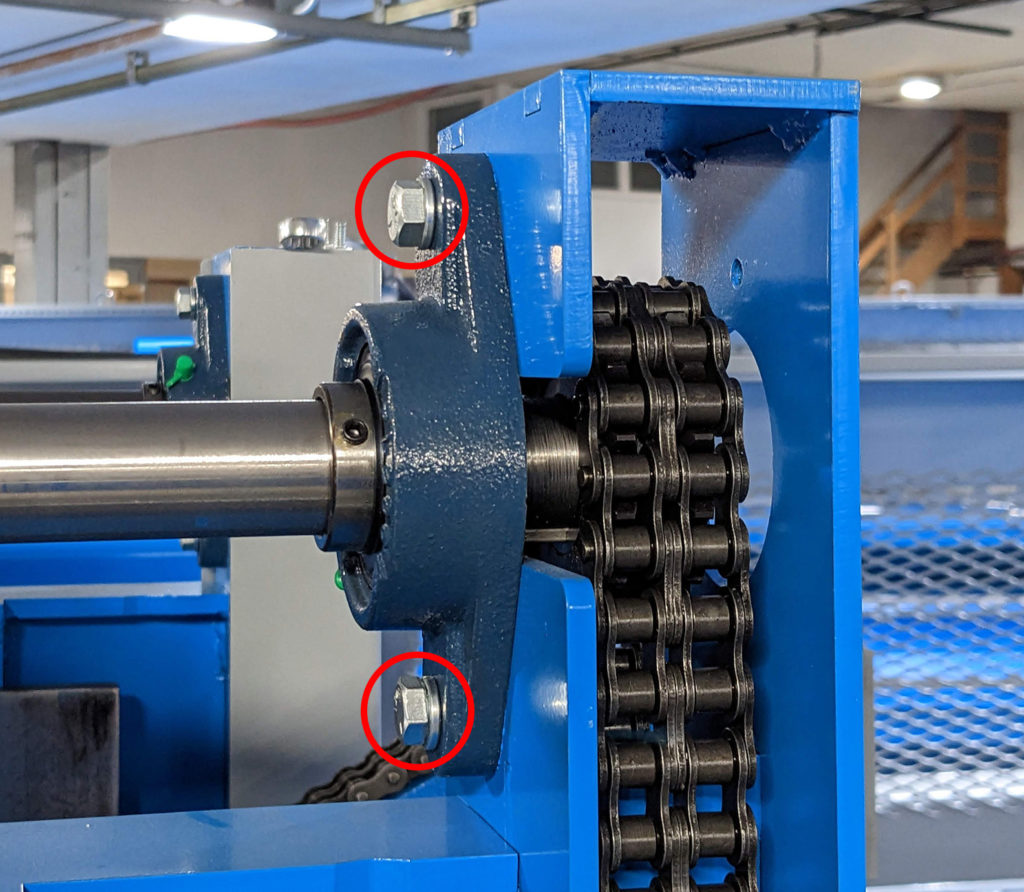
Step 8: Remove the Bearing Bolts
- Remove the two bolts holding the bearing in place.
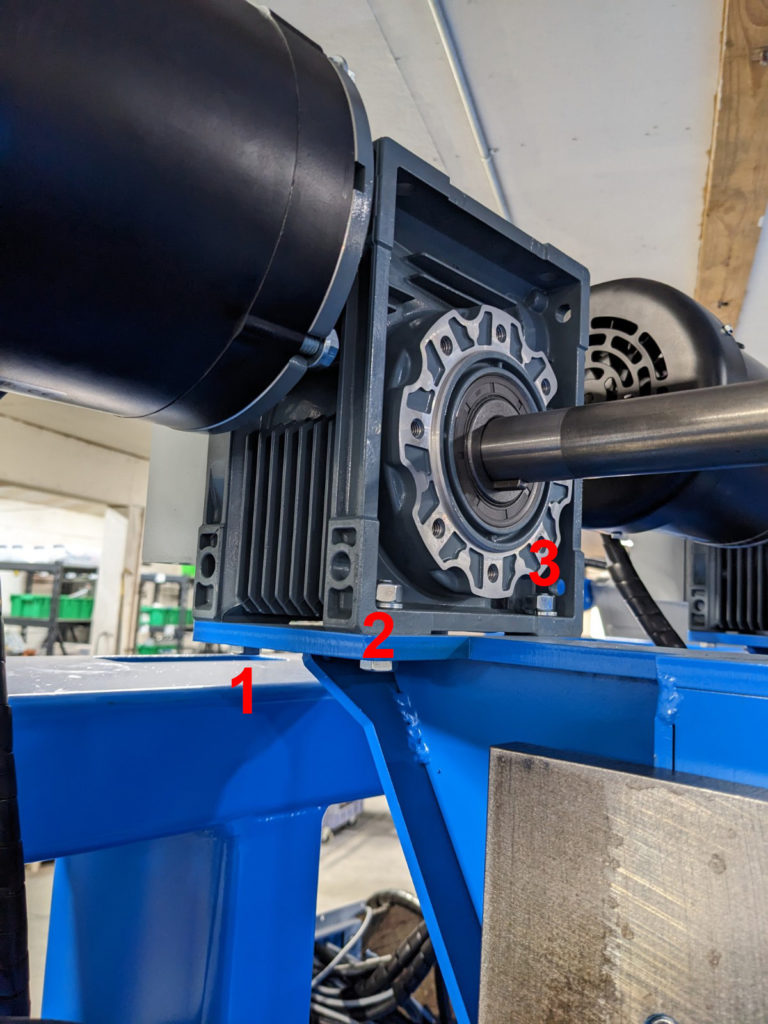
Step 9: Remove the Bolts Holding the Gearbox in Place
- Remove the four bolts attaching the gearbox to the mount (only three are shown in the picture).
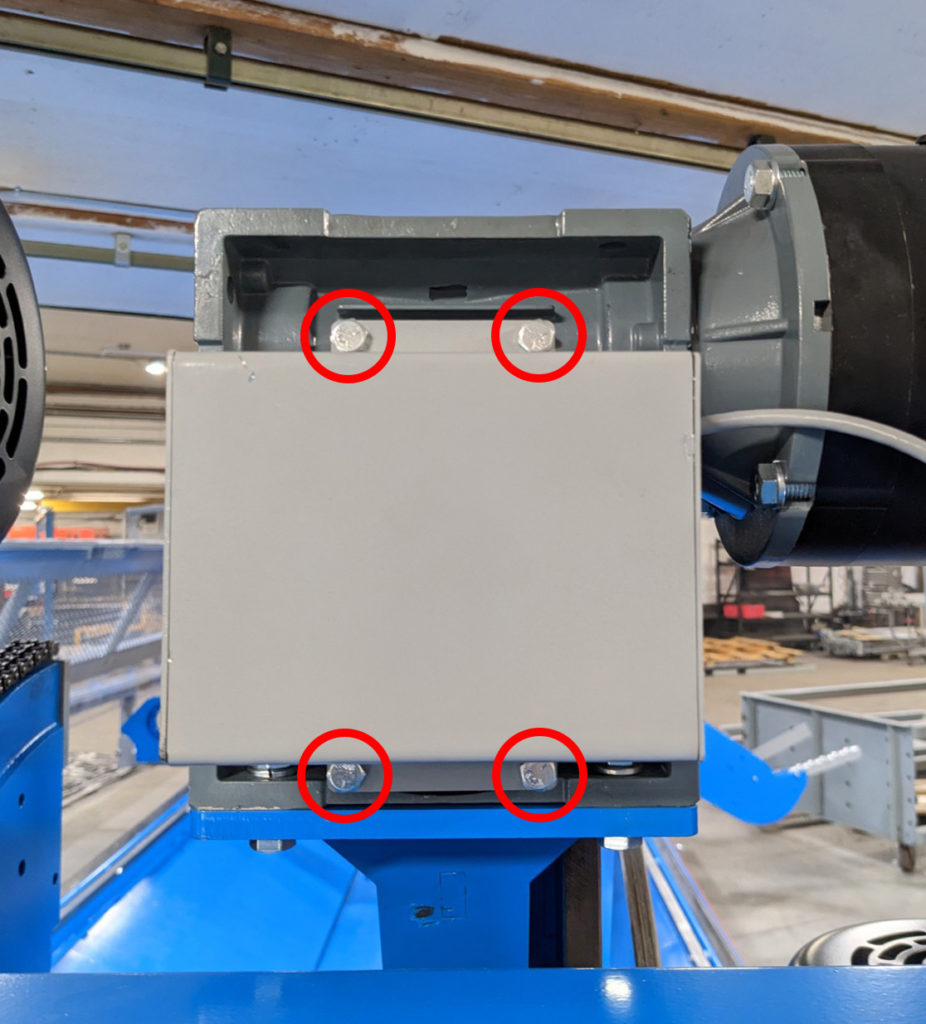
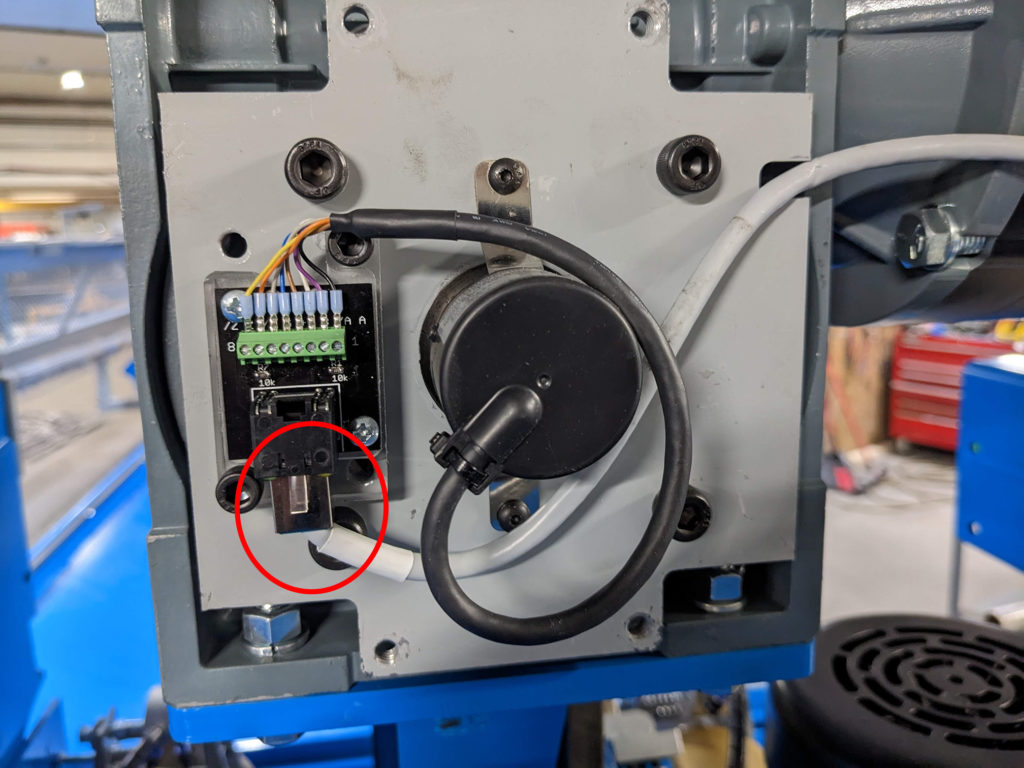
Step 10: Remove the Centerline Encoder’s Protective Cover
- Remove the four bolts and remove the encoder cover.
- Unplug the ethernet wire running to the ENC block.
Step 11: Remove the Gearbox and the Shaft.
- Now that the motor is removed, the chain disconnected and the ethernet wire is unplugged you should be able to remove the gearbox, with the shaft still attached, from the saw.
Step 12: Remove the Encoder
- Remove the four Allen screws
- Loosen the set screw that is on the collar on the shaft.
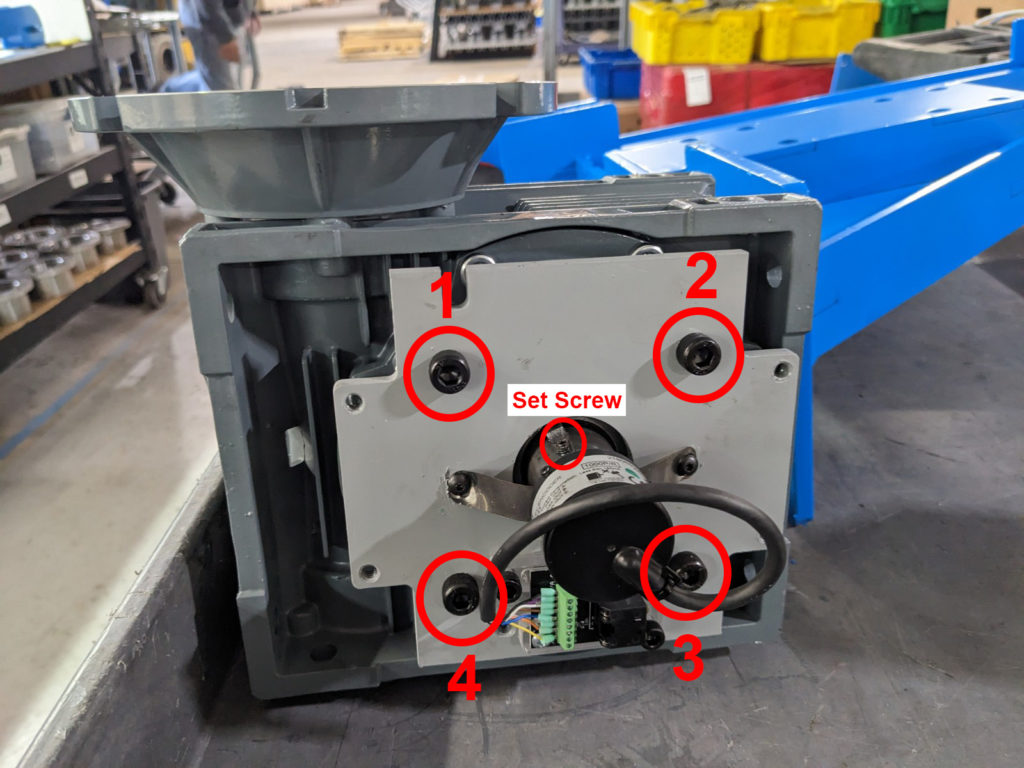
- Slide the whole plate & encoder off of the shaft.
Step 13: Separate the Gearbox from the Shaft
- This may take some force but you will need to separate the shaft from the gearbox. Our technicians have resorted to using a rubber mallet to insert the shaft on occasion so don’t be surprised if it doesn’t slide right off.