Search for answers or browse our knowledge base.
-
Retro C
-
-
- Articles coming soon
-
- Configuring the Touchscreen Computer's "Power-On"
- How to replace micro USB on the display computers
- How to Replace the Retro C's Computer
- How to replace the USB hard drive on the touch screen computer
- How To: Transfer Files to the Retro C
- New computer set bios power on
- Old computer set bios to power on
- TouchScreen Flip / Mirror Issue
-
-
-
- Angle (Arch) Movements - Overview
- Angle Chains - Proper Chain Tension
- Angle movements over run when going to position.
- Diagnosing Unknown Noises Coming from Blade Motor
- Pivot Point Check
- Power or Wiring Troubleshooting for Angle Motors or VFDs
- Replacing an Angle Encoder
- Stuck Angle or Centerline - How to Recover & Recalibrate
-
- Centerline (Vertical) Movements - Overview
- Checking the Centerline Maximum & Minimum (Max & Min) Height Setting
- How to set the "Minimum" position for Blade #5
- How to Tighten the Centerline Slides
- How To: Calibrate Centerline 1-5
- How To: Calibrate Centerline 1-5 (Advanced)
- How To: Tension The Centerline Chains
- Replacing a Centerline Encoder
- Replacing a Centerline Gearbox
- Stuck Angle or Centerline - How to Recover & Recalibrate
-
-
-
- Common Retro C issues and solutions
- Countdown Timer / E-Stop Troubleshooting
- Scrap Belt or Scrap Incline VFD Disconnected: Troubleshooting
- Stuck Angle or Centerline - How to Recover & Recalibrate
- TouchScreen Flip / Mirror Issue
- Troubleshooting: Encoder Unplugged Error
- Troubleshooting: The Stationary or Carriage Side Horizontals Won't Move Anymore
-
-
Linear Pickline
-
Plant One Projection
-
SmartConveyor
-
Sticker Printer
Cart Puller Hook Calibration
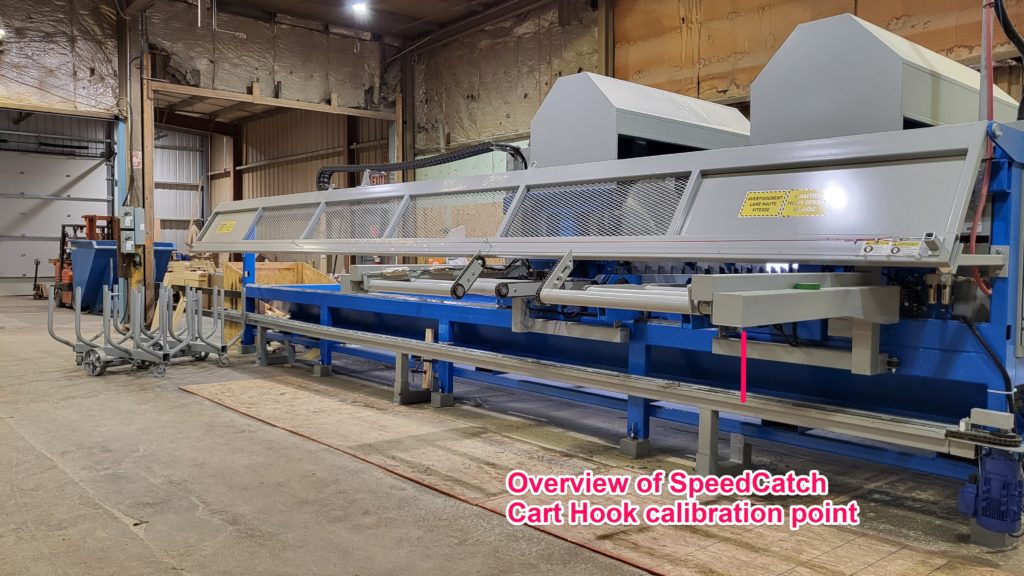
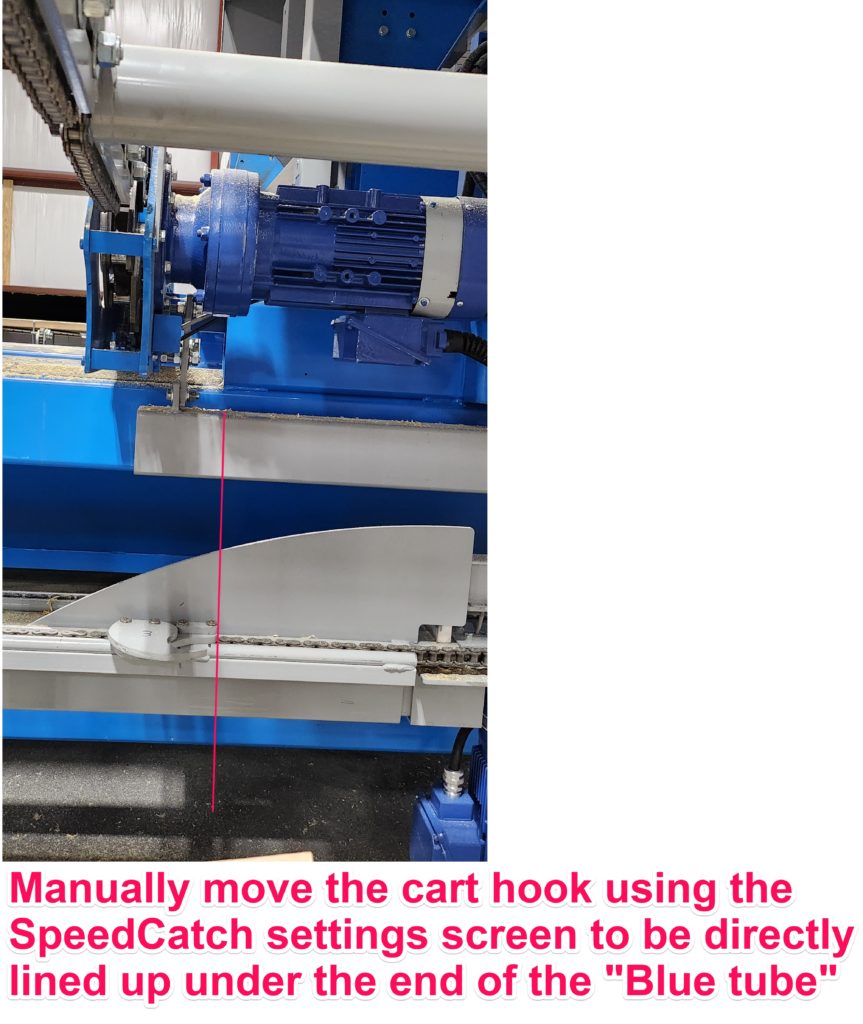
In the image below you will see the approximate location of the Cart hook calibration point. Note this on the Fixed end of the RetroC
The hook calibration point is to the end of the “Blue tube” on the Fixed End Carriage (shown below).
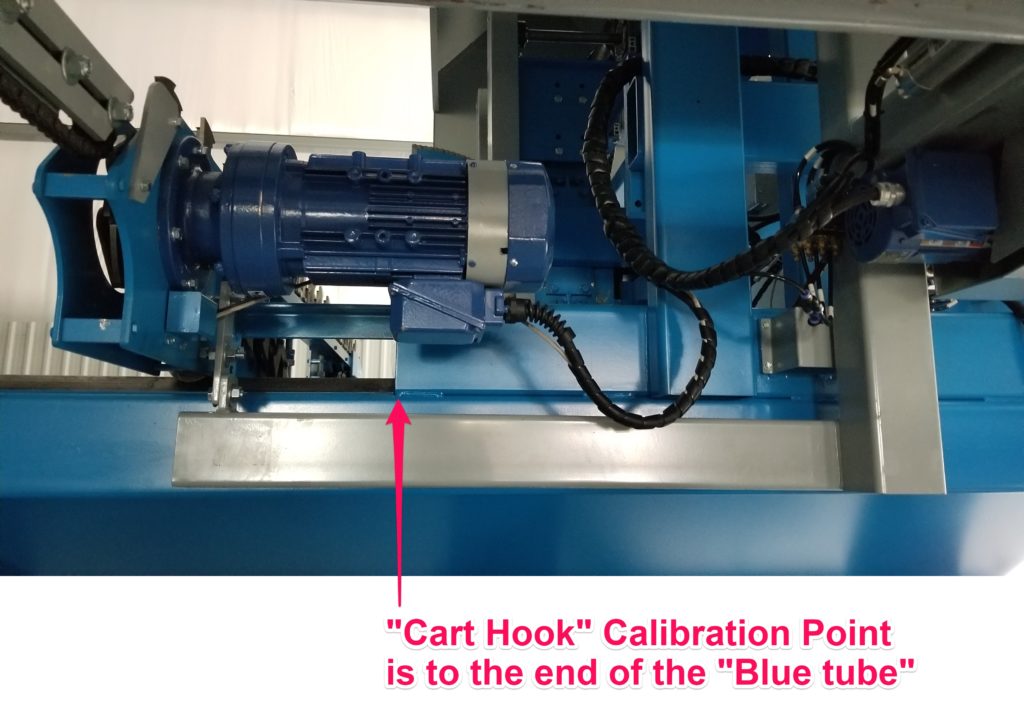
Place a mark on the cart pulling device directly in line with the end of the Blue tube. This will be your target to move the cart hook to.
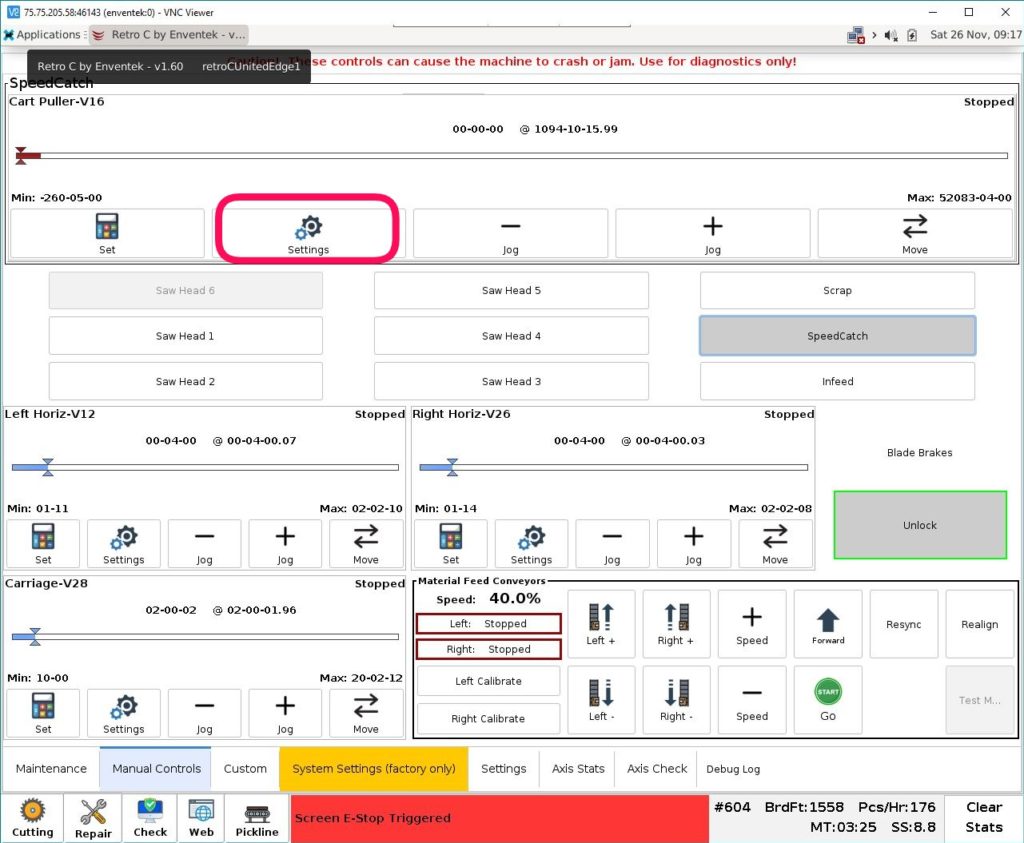
From the “Repair” tab, click “Manual Controls”, “SpeedCatch” and then “Settings” under the “Cart Puller-V16” top window as circled in Red below:
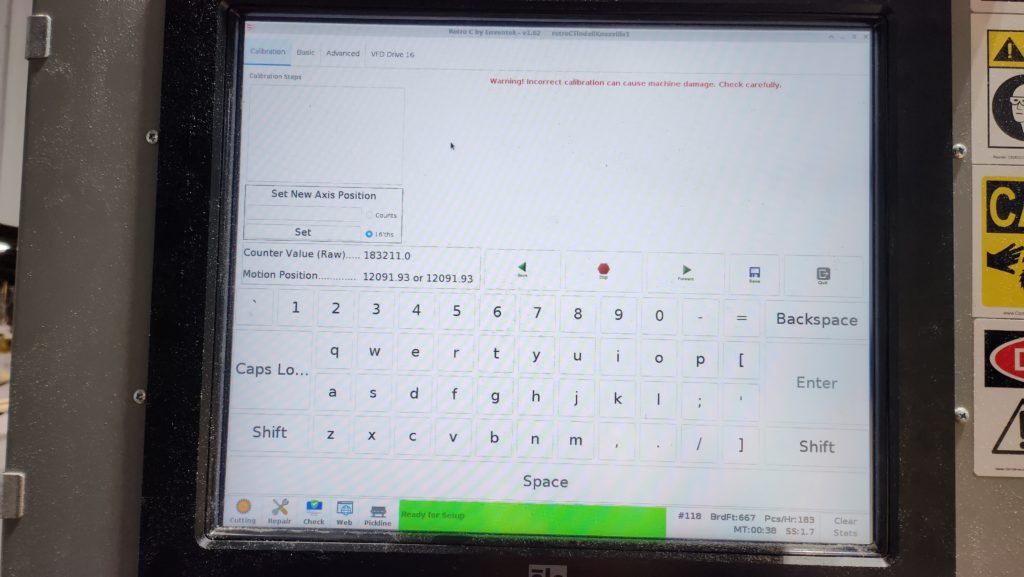
Using the “Back”, “Forward” green arrows move a cart hook to be lined up under the end of the Blue tube
When the Cart Hook is on the “Mark” at the end of the Blue tube Type in “0” in the “Set New Axis Position” box and then click “Set”
Verify that the “Motion Position” is 0.0 and then click “SAVE”
Click “Quit” to exit
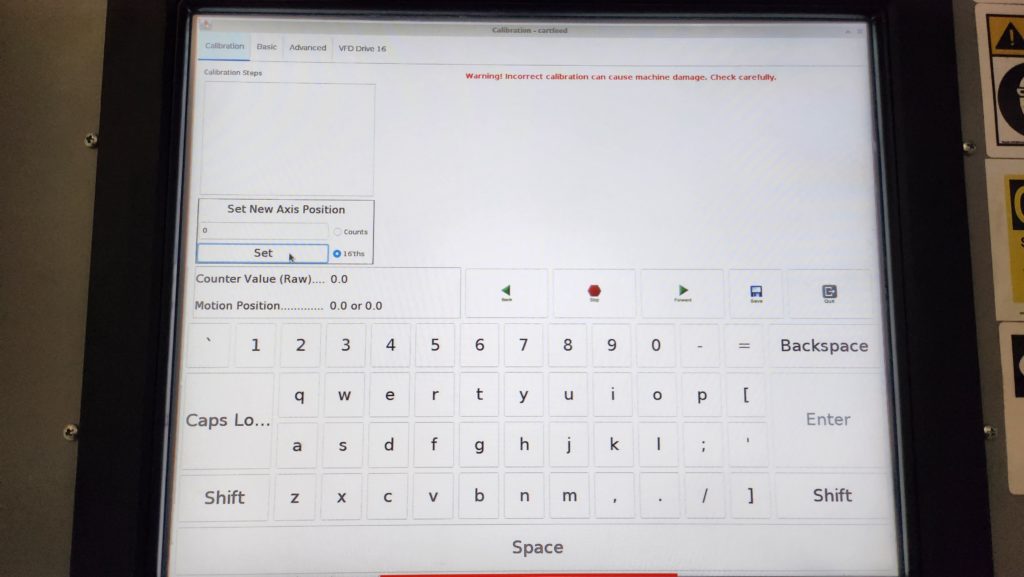
- Your Cart Hook is now calibrated.
- NOTE: This is only 1 calibration point.
- The actual cart position will vary depending on the length of board.
- Short boards will be placed in the 1st bay (not the cart center)
- On 20ft boards, the cart should be centered
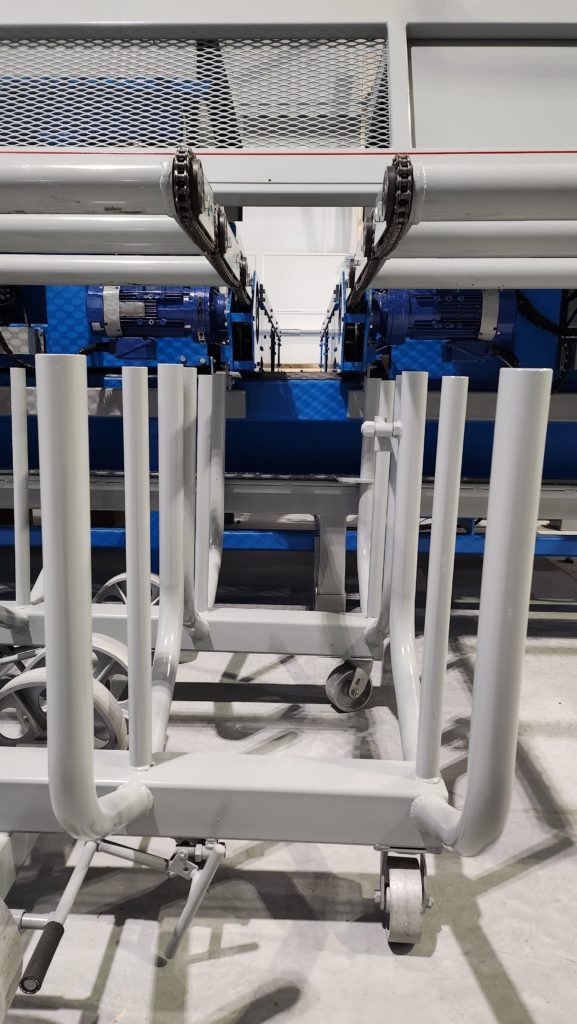
Cart Hook Cycle Test
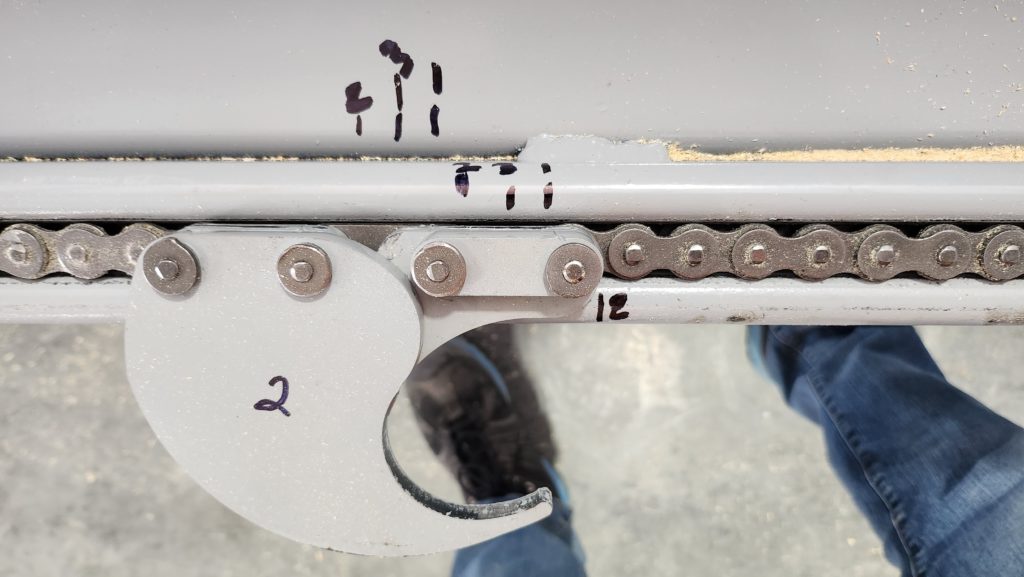
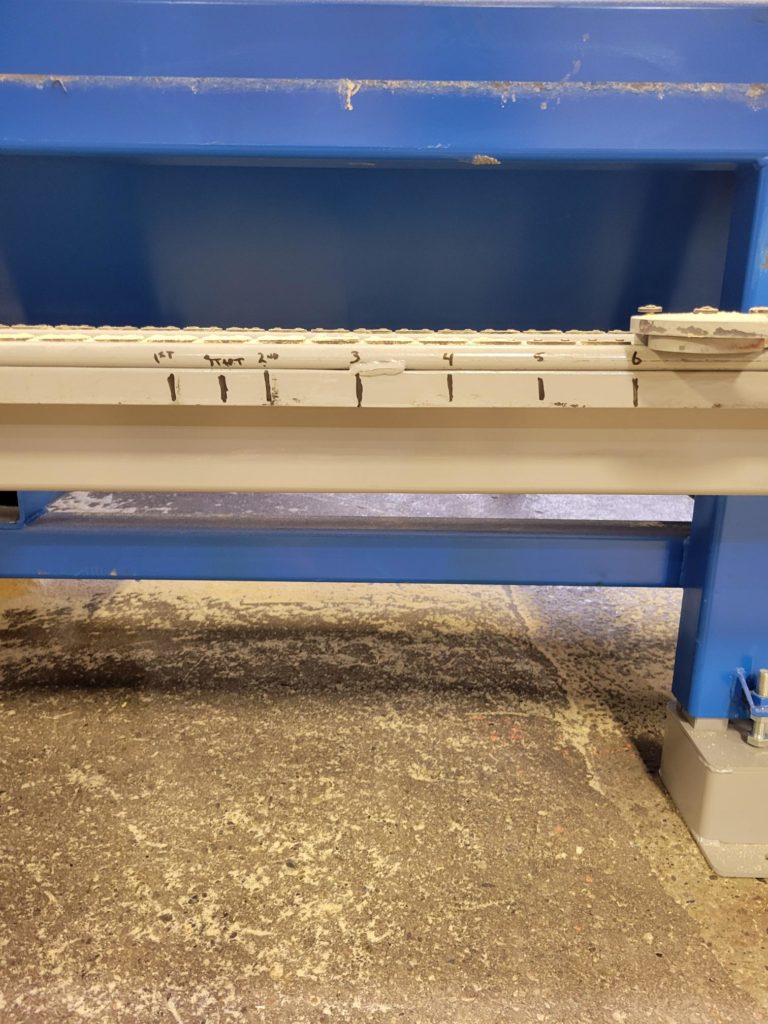
Using a Sharpie, number the hooks and mark where each hook ends up after a complete cycle (if it does NOT return to the the same spot, the hooks are drifting).
