Search for answers or browse our knowledge base.
Tightening and Centering the Air Brakes
Section 1: Tightening the Retro C’s Airbrake
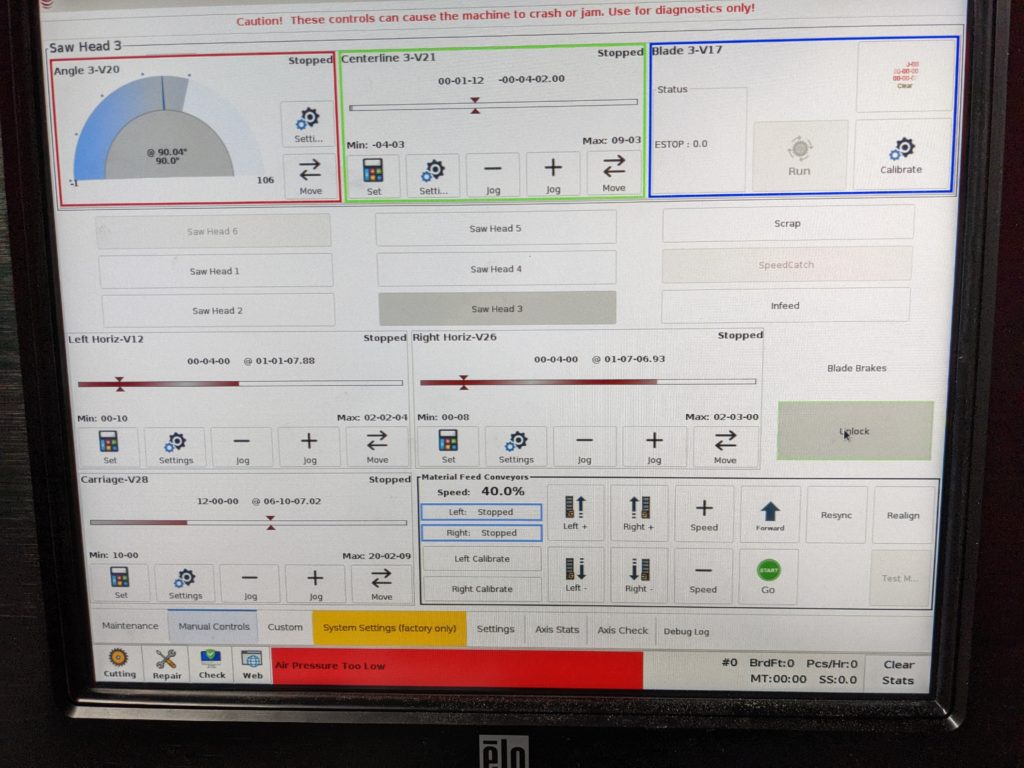
Step 1: Manually unlock the blade brakes in the “manual controls” section of the Retro C software.
Step 2: Disconnect the air hose from the saw.
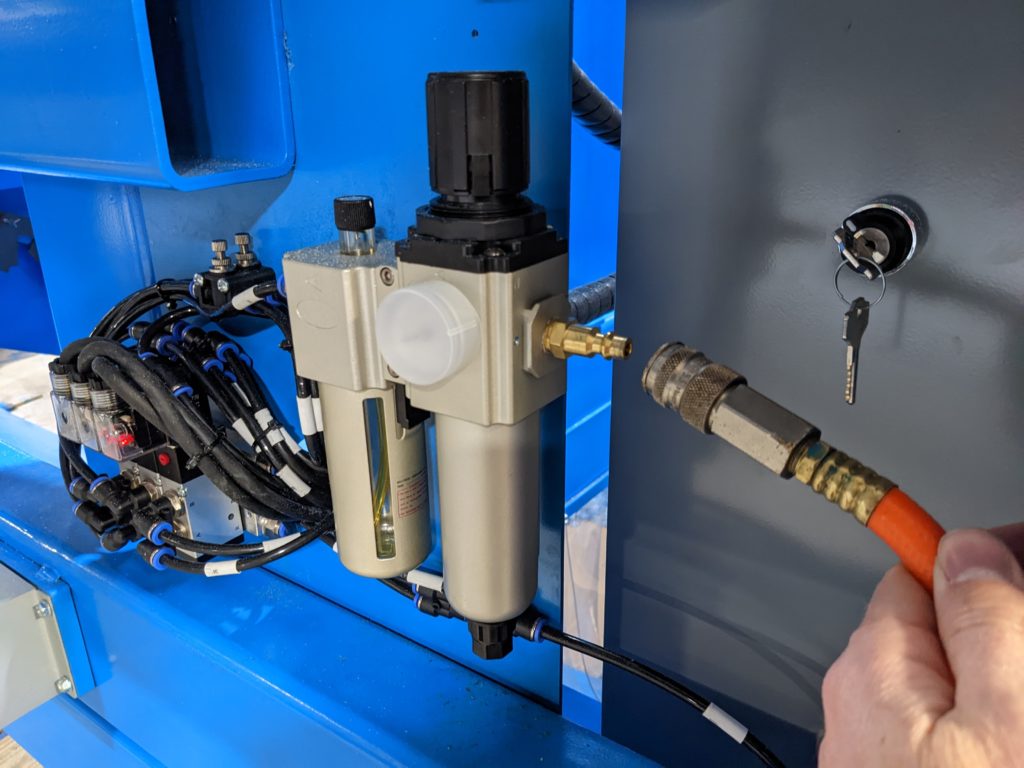
Step 3: Verify that the saw has automatically engaged the E-stop (due to low air pressure) but that the blades can still spin by hand.
NOTE: There is no need to remove the blades for this process. In some of the pictures, the blades were removed so you can see better.
Step 4: Verify that Bolt “A” is all the way tightened down and not loose.
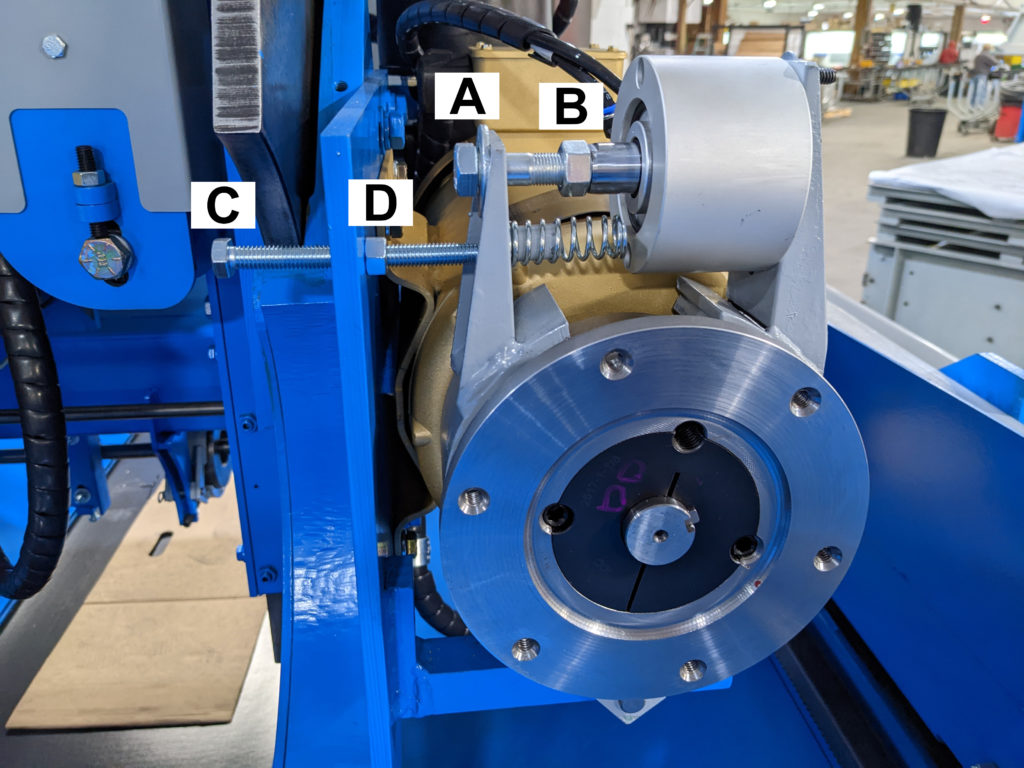
If bolt “A” was already tightened down and could not be threaded in anymore. You will need to add 1 or more washers to the head of the bolt. After the desired amount of washers are in place, tighten back up the jam nut “B”.
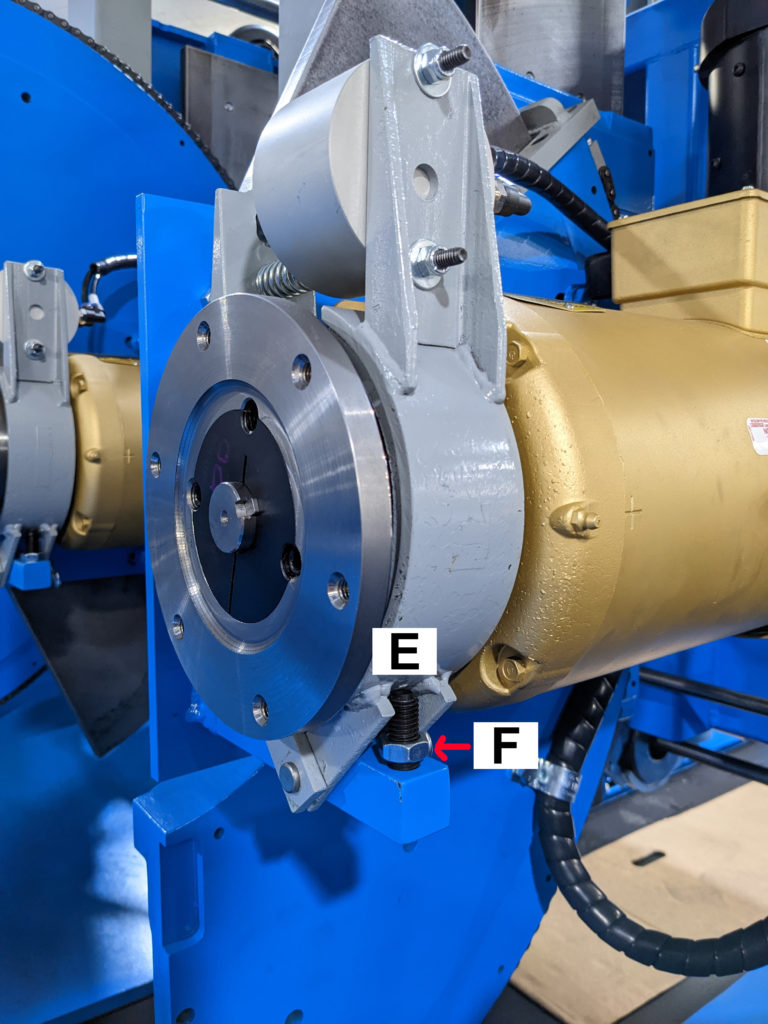
Section 2: Recentering the Brakes
Step 1: Loosen jam nut “D” and tighten (or loosen) bolt “C” until (while spinning the blade slowly by hand) you can hear the brakes rubbing against the hub. Once you can hear it or notice that the brakes are slowing the blade, back bolt “C” out approximately 1/2 turn. Spin the blade to verify that the brakes aren’t rubbing and slowing down the motor at all.
Step 2: Tighten the jam nut “D”
Step 3: Repeat this process with the Allen screw “E” and the jam nut “F”. Tighten “E” up until it rubs and then back it out approximately 1/2 turn until it no longer contacts the hub while the blade is spinning and then tighten jam nut “F” back up.
Step 4: Re-attach the air hose, disengage the e-stop and continue cutting lumber.
Additional Notes 1:
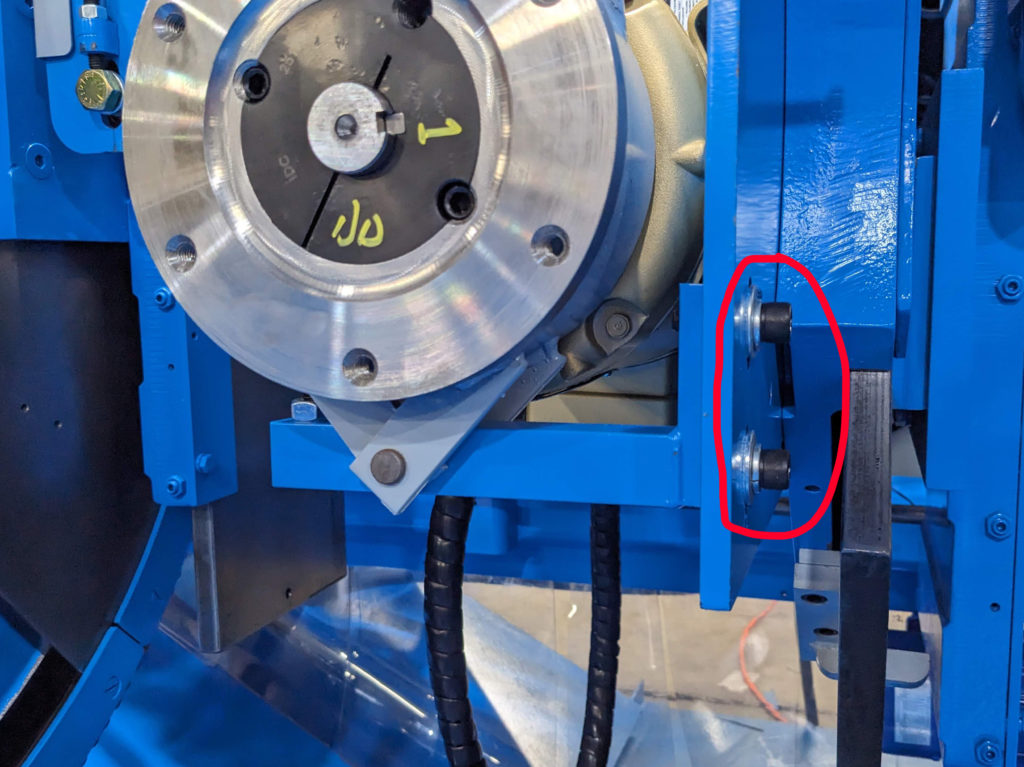
Some of our saws have the ability to have the brake mount bracket twisted because it is not welded to the motor mount like it is in the image above. Instead, some have a pair of Allen screws holding the brake mount “L” bracket to the motor mount. See the image below for an example of the brake mount Allen bolts.
Additional Notes 2:
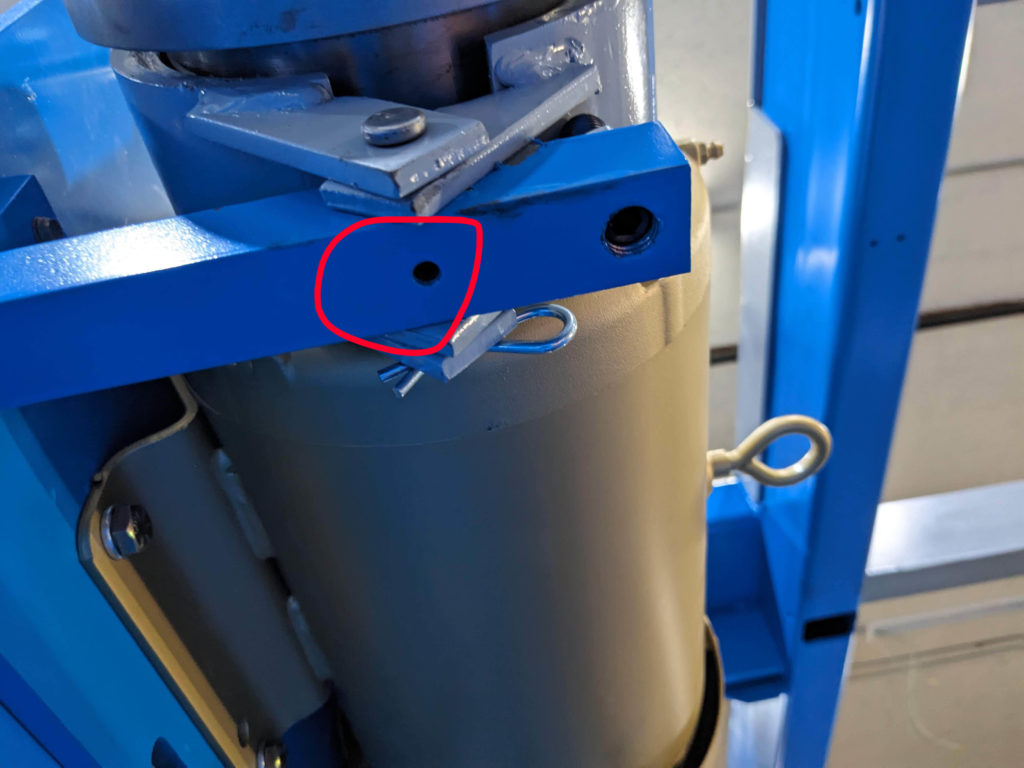
If there is a lot of slop or play in the two brake shoes it may be because the set screw that tightens up against the pin is loose. See the image below for the location.