Search for answers or browse our knowledge base.
Adjusting the Pivot Point
This article will discuss the steps you should take if you suspect one or more of your blades are out of alignment. Maybe you have “crashed” a blade or blades into a board or maybe one of the blades has become misaligned over time (not common). This article will cover what to do if this occurs. First, let’s talk about what a “crashed” blade is, a “crashed” blade occurs when the Retro C’s carriage tries to move toward the stationary side while there is still lumber in the saw. When this happens one or more of the saw blades themselves can become damaged, break or bend. Often the end result is that the motor mount itself will move (the bolt holes are slotted for adjustment).
Typically this is noticed by operators and they complain that saw blade 3, for example, is cutting wood but saw blade 2 is either not cutting at all or cutting too much. For example, if a crash happens on blades 2 & 3. One of the heads will be forced out and will end up cutting the lumber long. Blades 1 and 4 will then cut off “more” (even though it isn’t more than it should be) of the lumber instead of just dusting the ends. This can affect the pivot points and can be the cause of lumber being cut at incorrect lengths/angles.
- The first step is to check the alignment of the material feed arms as well as the alignment of the carriage itself. For more information on how to do that please follow these instructions.
- Once you have verified that the material feed arms and the carriage are all aligned correctly, the next step is to manually set all the blades to 90° and then verify that all the blades are at 90° (using a T-square). The T-square should be flush to the blade and touch both upper hold downs evenly.
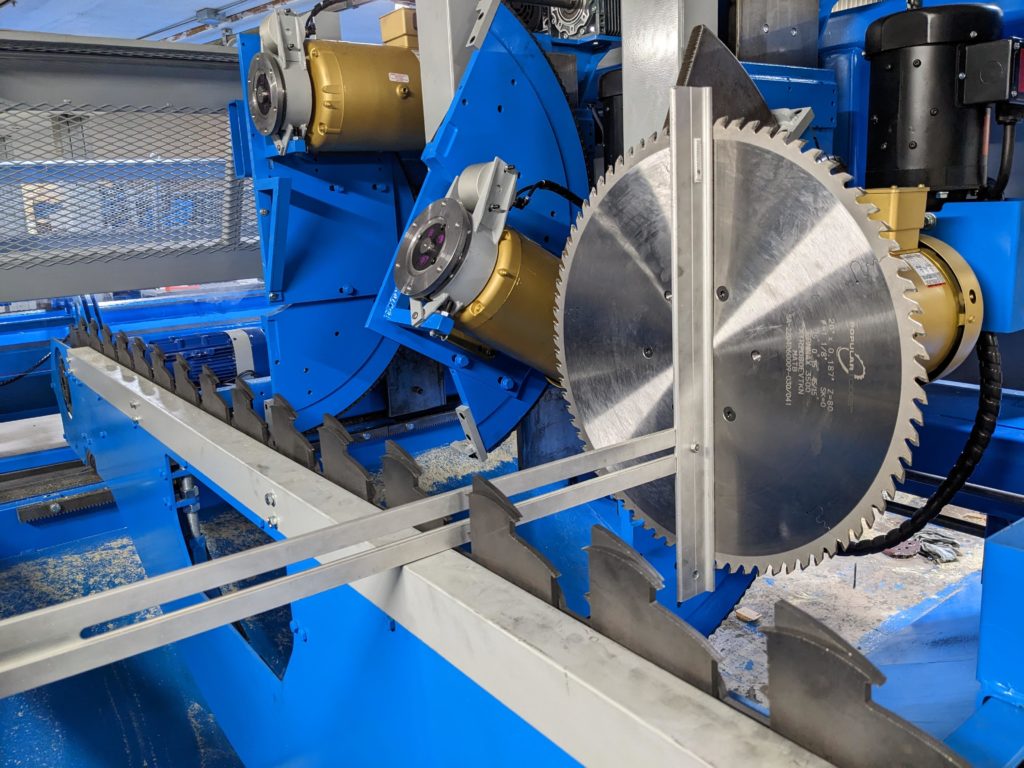
After that, run a board past all the blades, if one of the blades misses the lumber while all the others just “dust” the end of the lumber you know that one of your heads needs to be adjusted back to the correct spot on the mount.
Step 1: Take a permanent marker and make two lines on the saw head (you can use a black marker for both). First, mark the horizontal line (the red line in the image below) this is a line that is just for reference to make sure that the mounting plate doesn’t shift. Then mark a vertical mark on both brackets (the black line below).

Step 2: Calculate the distance that you need to move the saw head (forward or back), measure out that amount, and mark a second mark on the motor mount as shown below. In the image below I will be moving the motor back 1″.

Step 3: Loosen the (4) blue bolts (DON’T REMOVE COMPLETELY) and slide the motor mount forward or backward until the vertical and the new horizontal short black line you made line up.

Step 4:
Tighten up the 4 bolts, and check the blade alignment by running a board through the saw. Repeat if necessary.