Search for answers or browse our knowledge base.
Replacing the Horizontal Conveyor Shaft
Purpose
The goal is to explain how to replace the 3/4 shaft on a horizontal conveyor when after it has been bent due to lumber buildup or jams.
Tool List
- 3/8 Deep Socket
- 3-inch Extension
- Ratchet driver
- Phillips Screwdriver
- 9mm Wrench
- 3/16 Allen Wrench
- 1.5mm Allen Wrench
- 1/8 Allen Wrench
- (2) 9/16 Wrenches
- (2) Small Ratchet Straps
- (4) Clamps
- Dead Blow Hammer
Instructions
NOTE 1) Extend the carriage to a place where it can be worked on approximately 8’-10’.
NOTE 2): If possible extend the horizontal conveyor so that is wide enough to get into the machine as if the blades are being changed.
NOTE 3) Move the centerlines up as high as you can it will make it easier to work.
Step 1
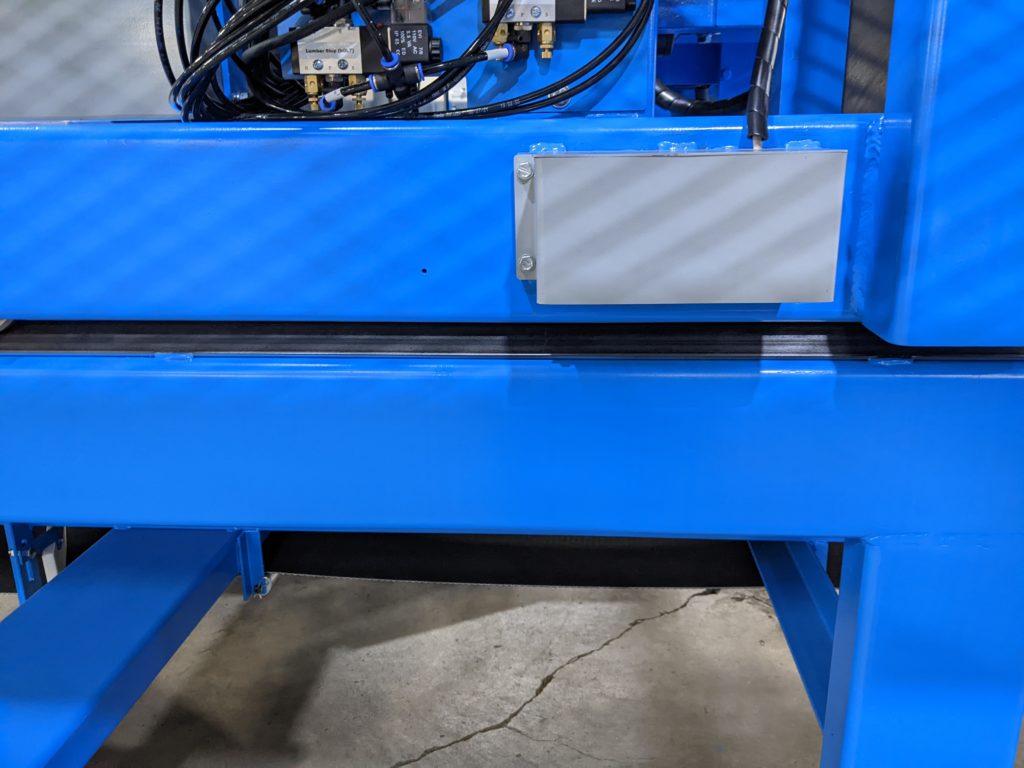
Step 2
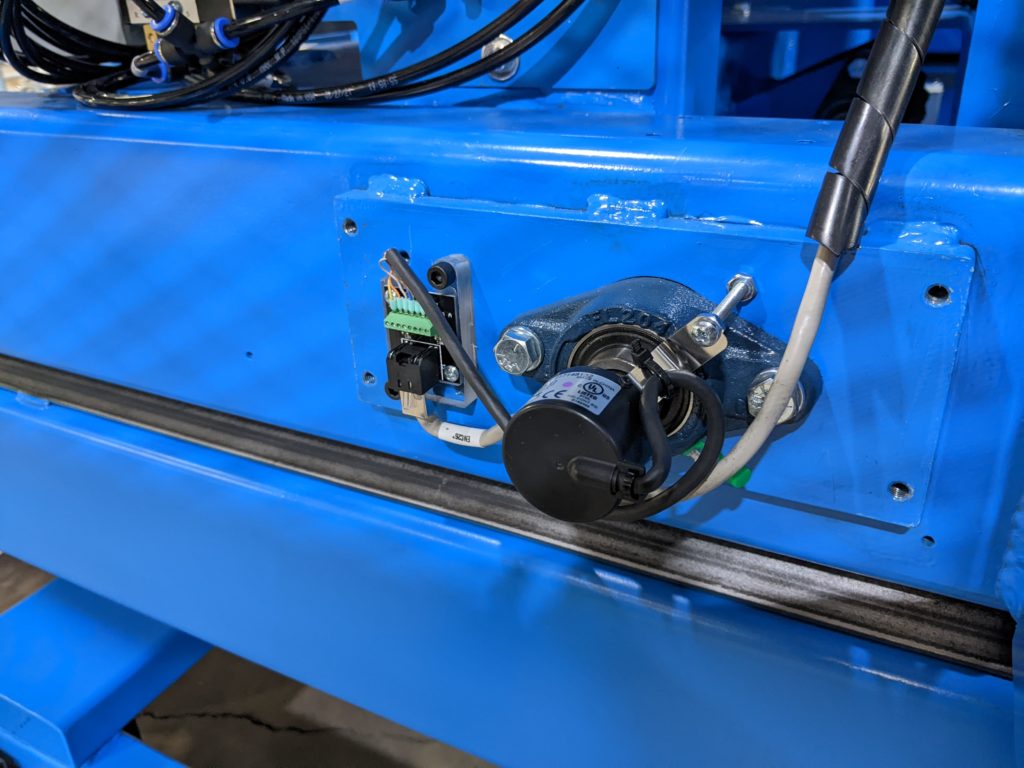
Step 3
Remove the two screws that hold the encoder in place.
Step 4
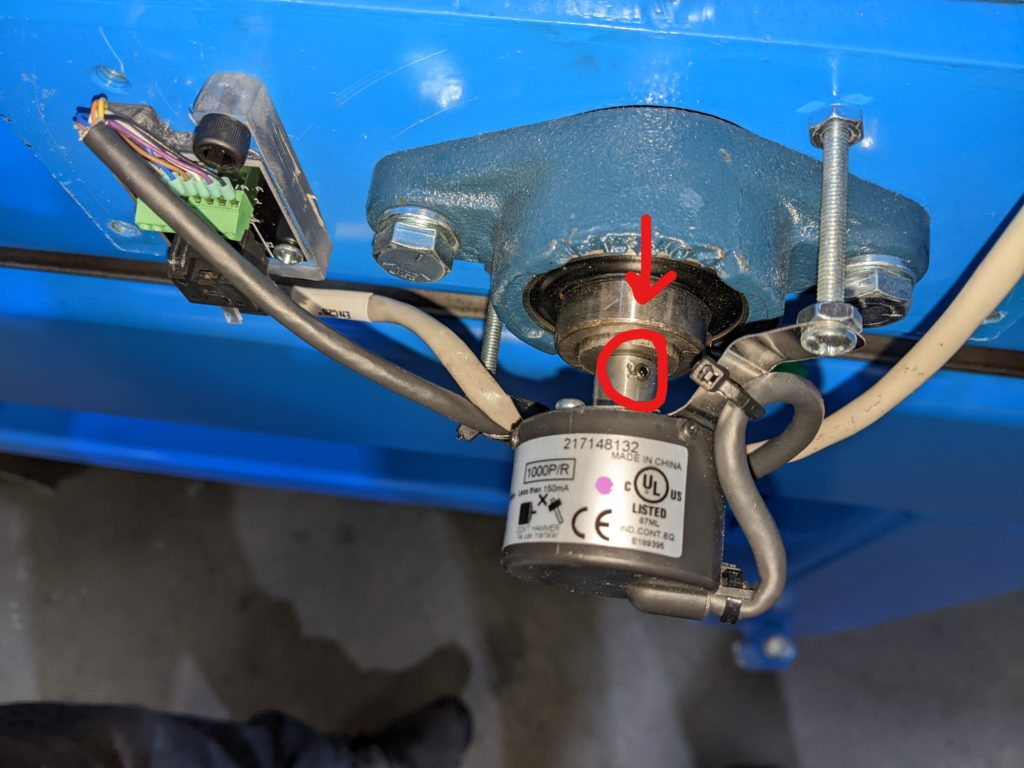
Step 5
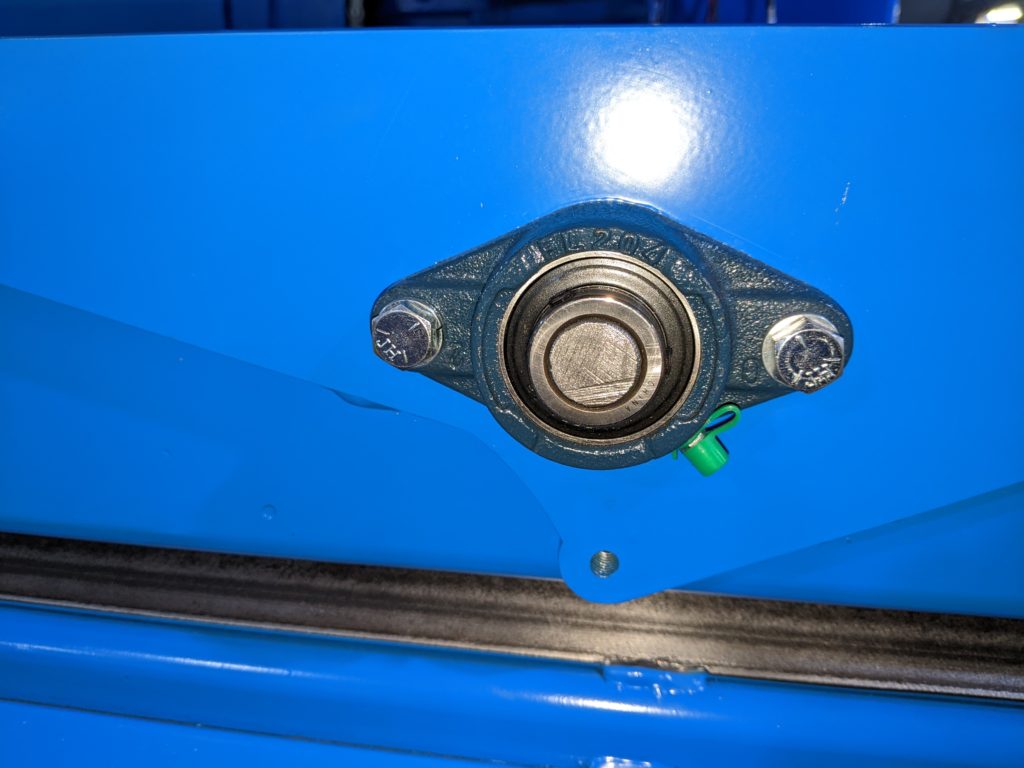
NEXT: Climb into the machine to start disconnecting the motor and chain
Step 6
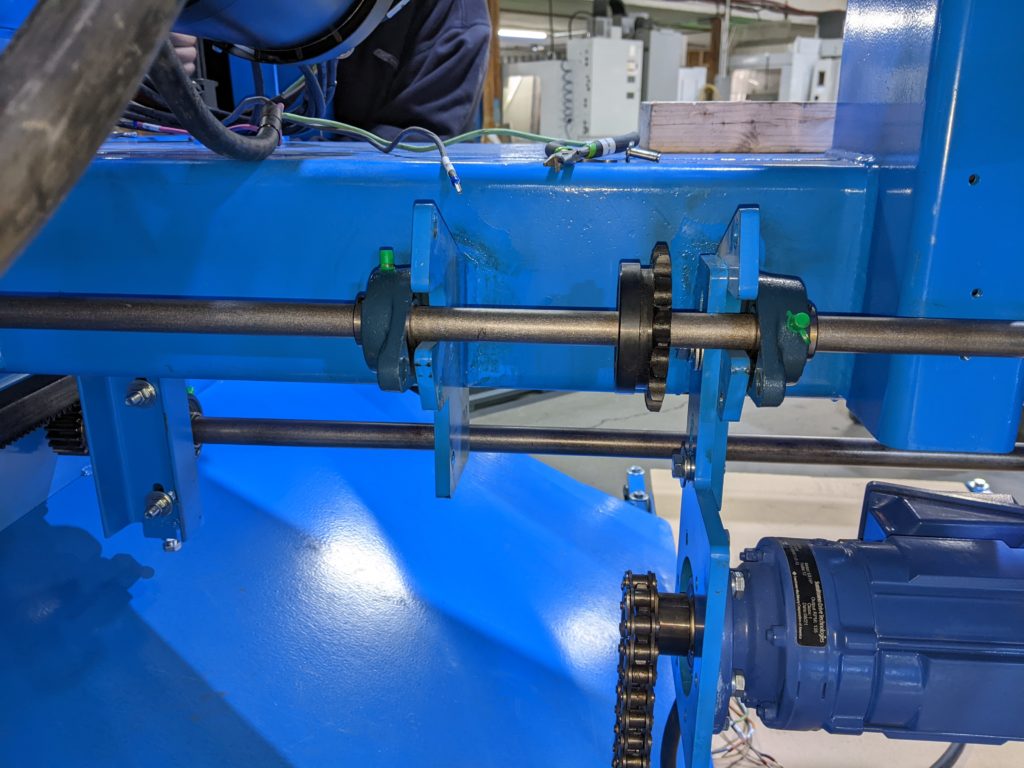
Push the material feed conveyor out. At this point, it should be able to push over the top of the spur gears which hold the material feed on the machine
The shaft should be free at this point. Push the shaft toward the back of the saw until the spur gear comes out the front of the tube then take it out of the middle of the saw.
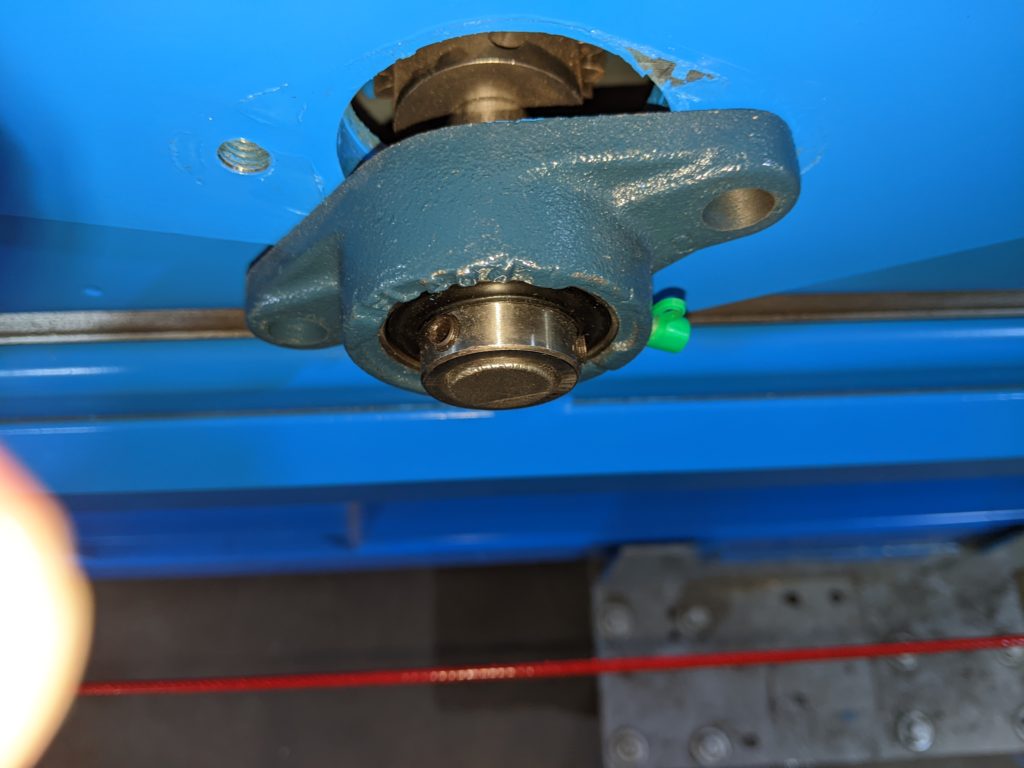
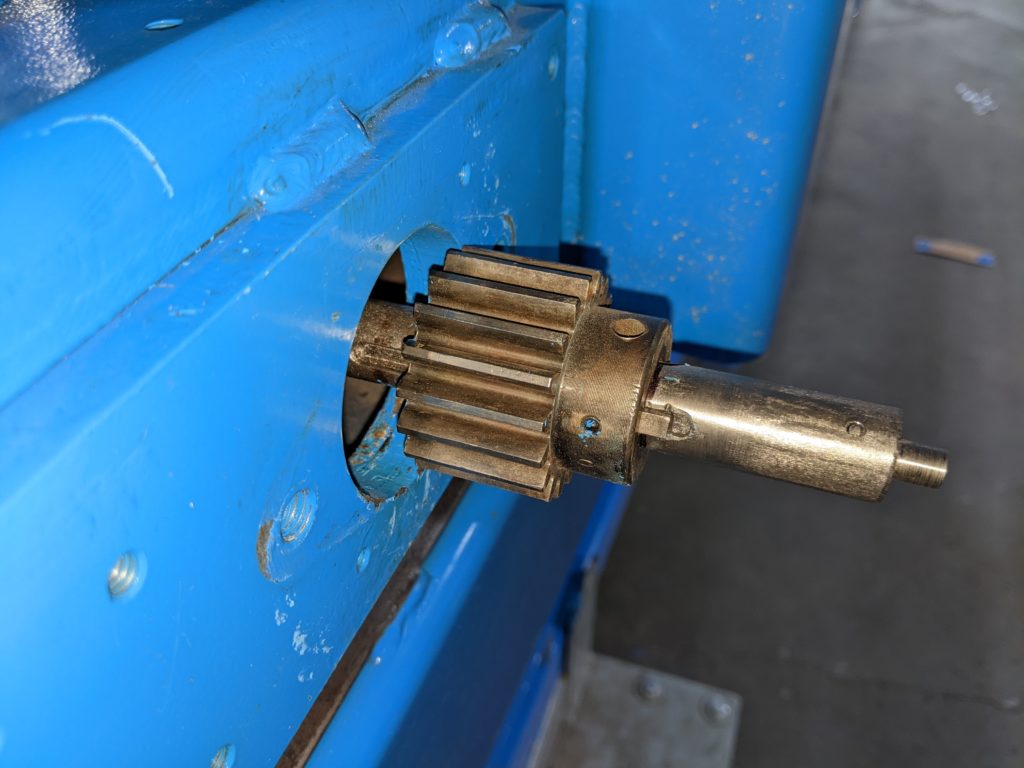
When the step comes up to reload the material feed into the tubes it must be done with the spur gears in the lowest position on the hole that they go through or they will not insert correctly.
Remove bearings, spur gears, and sprocket from the bad shaft. Note: It may need to be cut in order to get them removed if it is bent.
IF you do need to replace a conveyor shaft you can purchase one through Enventek by calling us or you can build a new conveyor shaft using the information on this page:
- Once the new shaft is built reinstall all items in reverse order.
a. Use ratchet straps to center the shaft
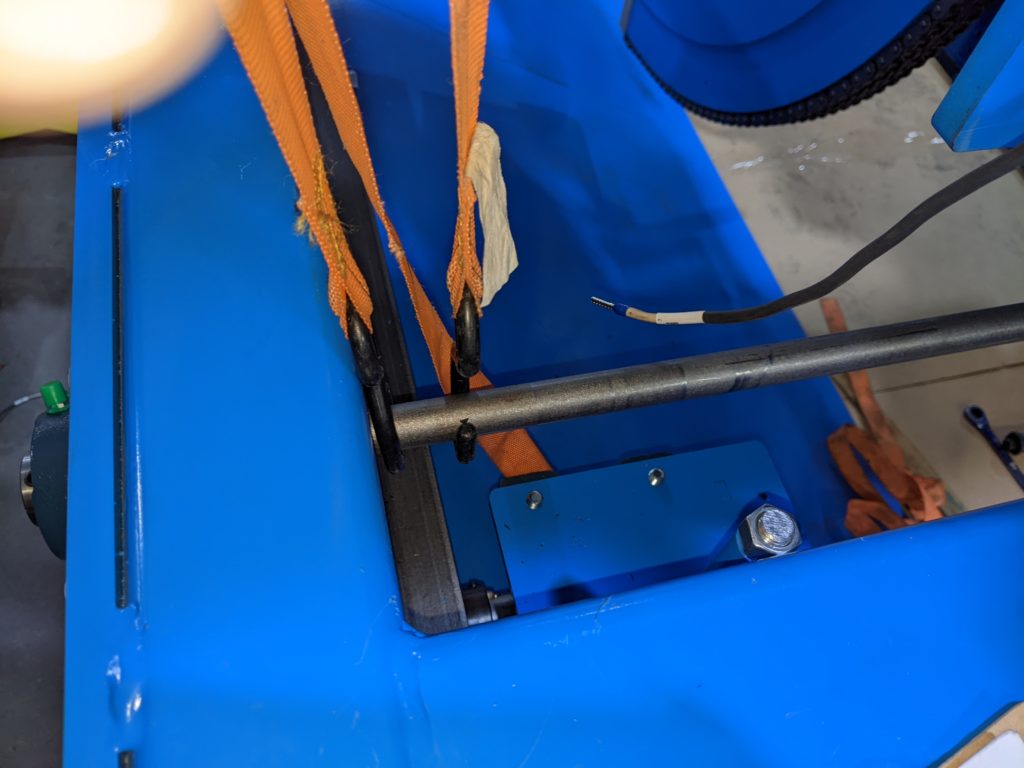
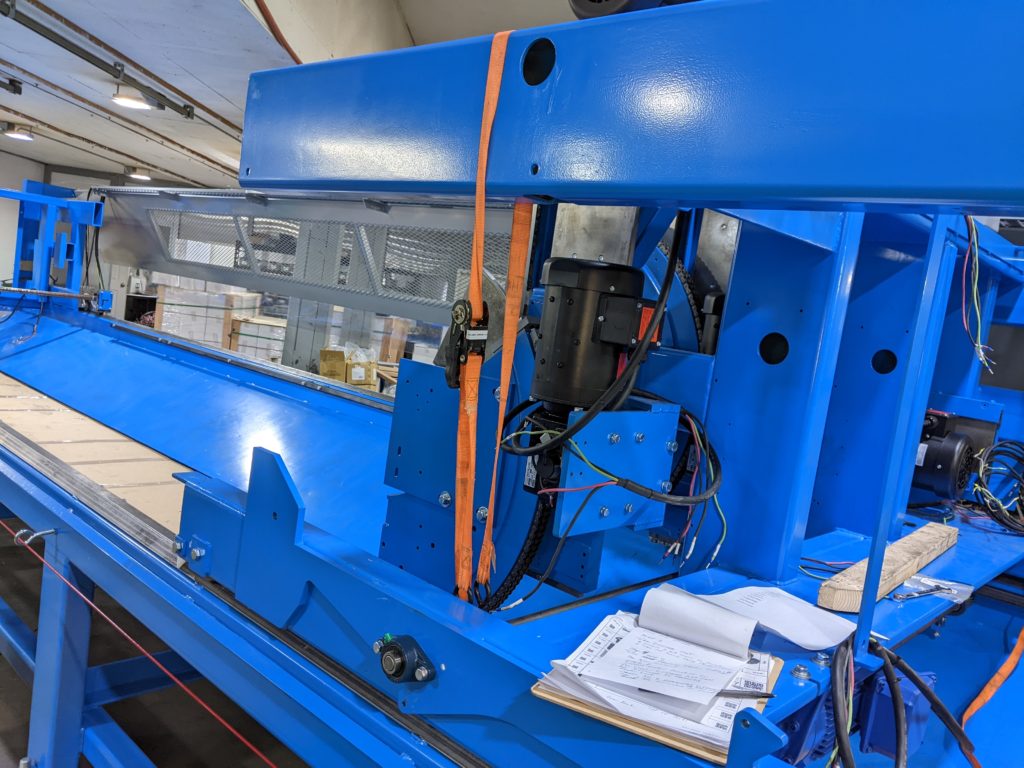
- The Material feed must be the same distance in on the front and back tubes. If it is not the same distance they need to be aligned by jumping a tooth.
- Once aligned follow the steps in reverse to add the motor, flange bearings, and encoder back to the machine.
a. Slide Arms back Thru
b. Center shaft in the hole using ratchet straps
c. Put on outside bearings and tighten down bolts and set screws
d. Re-align sprocket with motor and tighten down sprocket
e. Tighten bearings to brackets making sure set screws are tight.
f. Put chain back together and tighten bolts holding the motor on the bracket.
- After that, you will need to calibrate the material feed. Please use the document linked below to do this final portion of the setup.