How Can We Help?
Search for answers or browse our knowledge base.
-
Retro C
-
-
- Articles coming soon
-
- How to Replace the Retro C's Computer
- Configuring the Touchscreen Computer's "Power-On"
- How to replace micro USB on the display computers
- How To: Transfer Files to the Retro C
- How to replace the USB hard drive on the touch screen computer
- New computer set bios power on
- Old computer set bios to power on
- TouchScreen Flip / Mirror Issue
-
-
-
- Stuck Angle or Centerline - How to Recover & Recalibrate
- Replacing an Angle Encoder
- Angle movements over run when going to position.
- Angle (Arch) Movements - Overview
- Angle Chains - Proper Chain Tension
- Diagnosing Unknown Noises Coming from Blade Motor
- Pivot Point Check
- Power or Wiring Troubleshooting for Angle Motors or VFDs
-
- Stuck Angle or Centerline - How to Recover & Recalibrate
- How To: Calibrate Centerline 1-5
- How To: Calibrate Centerline 1-5 (Advanced)
- Centerline (Vertical) Movements - Overview
- Replacing a Centerline Encoder
- Replacing a Centerline Gearbox
- Checking the Centerline Maximum & Minimum (Max & Min) Height Setting
- How to Tighten the Centerline Slides
- How To: Tension The Centerline Chains
-
-
-
- Common Retro C issues and solutions
- Countdown Timer / E-Stop Troubleshooting
- Scrap Belt or Scrap Incline VFD Disconnected: Troubleshooting
- Stuck Angle or Centerline - How to Recover & Recalibrate
- TouchScreen Flip / Mirror Issue
- Troubleshooting: Encoder Unplugged Error
- Troubleshooting: The Stationary or Carriage Side Horizontals Won't Move Anymore
-
-
Linear Pickline
-
Plant One Projection
-
SmartConveyor
-
Sticker Printer
< All Topics
Print
Configuring the Touchscreen Computer’s “Power-On”
Updated
From the factory, our computers are initially set to power on after an unexpected loss of power. However, it is important to note that this setting can sometimes revert back to the default setting established by the motherboard manufacturer, which is to remain turned off when power is restored. This document aims to provide you with a step-by-step guide on how to ensure that your system powers on automatically after experiencing an unexpected power loss.
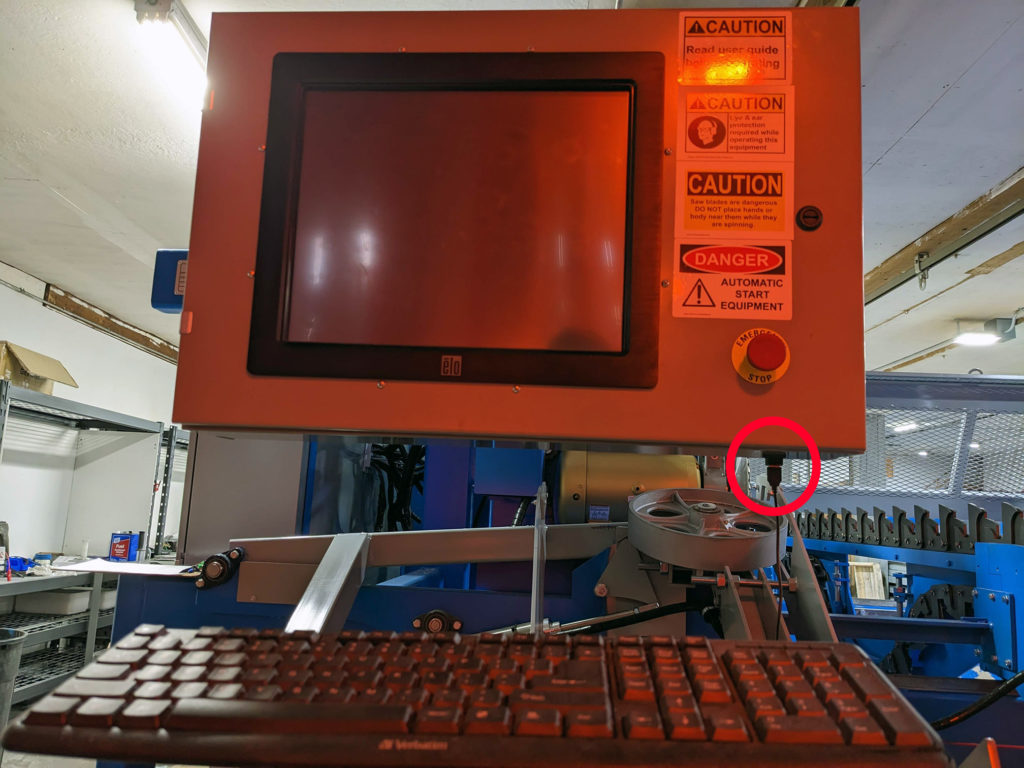
- Step 1: Plug in a USB keyboard to the USB port on the bottom of the touchscreen

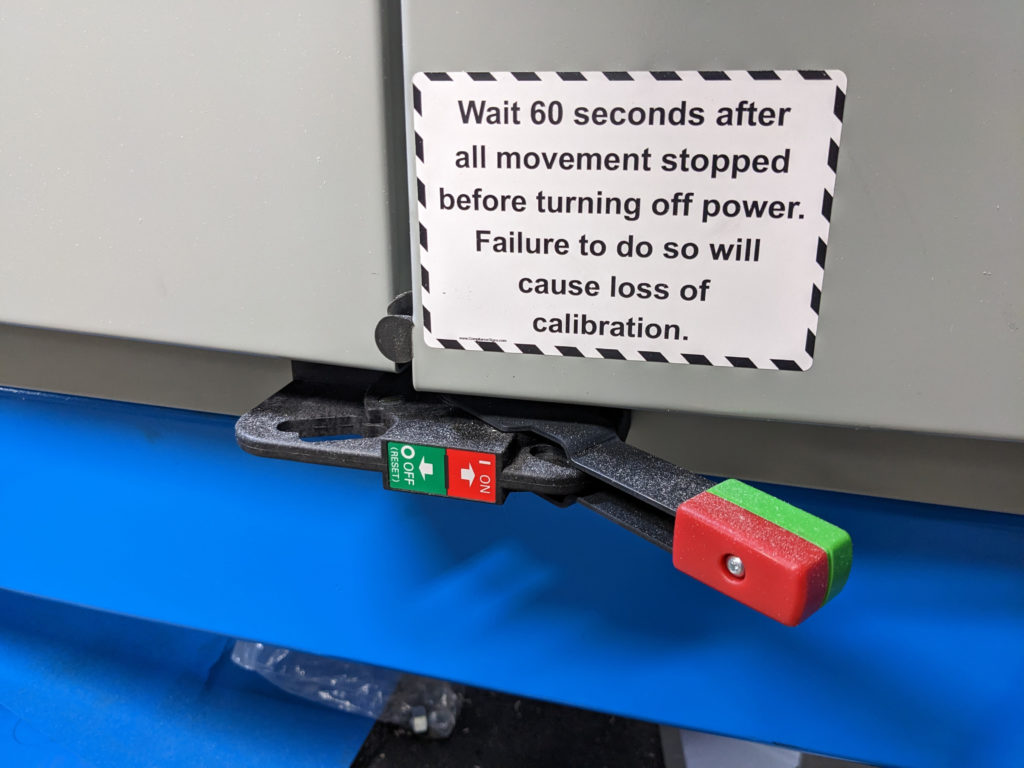
- Step 2: Power cycle the saw by throwing the master breaker. NOTE: Make sure you give the saw 30 seconds to completely de-power before turning it back on.

- Step 3: IMPORTANT – As soon as you turn on the power switch, start pressing the delete key on the keyboard over and over (≈1 time per sec) until you see the main BIOS screen
Table of Contents