Search for answers or browse our knowledge base.
Linear Pickline – How to Tension the Chain
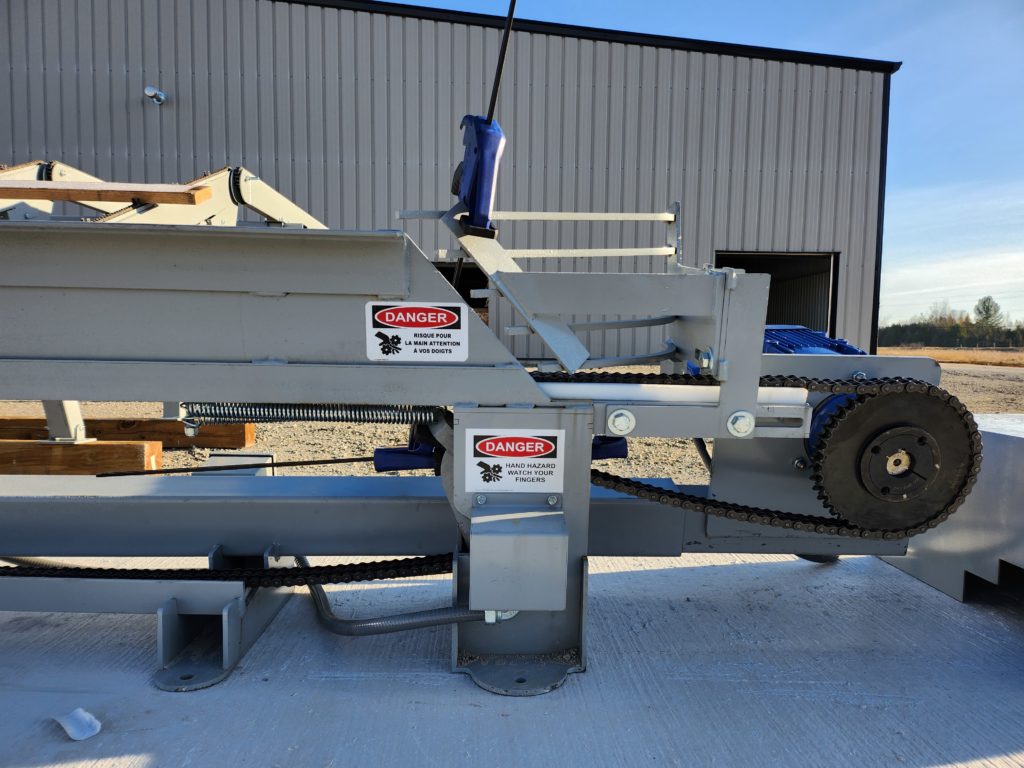
Here is a great example of Pickline chain that is too loose:
Here is what the pickline’s chain tension should look like:
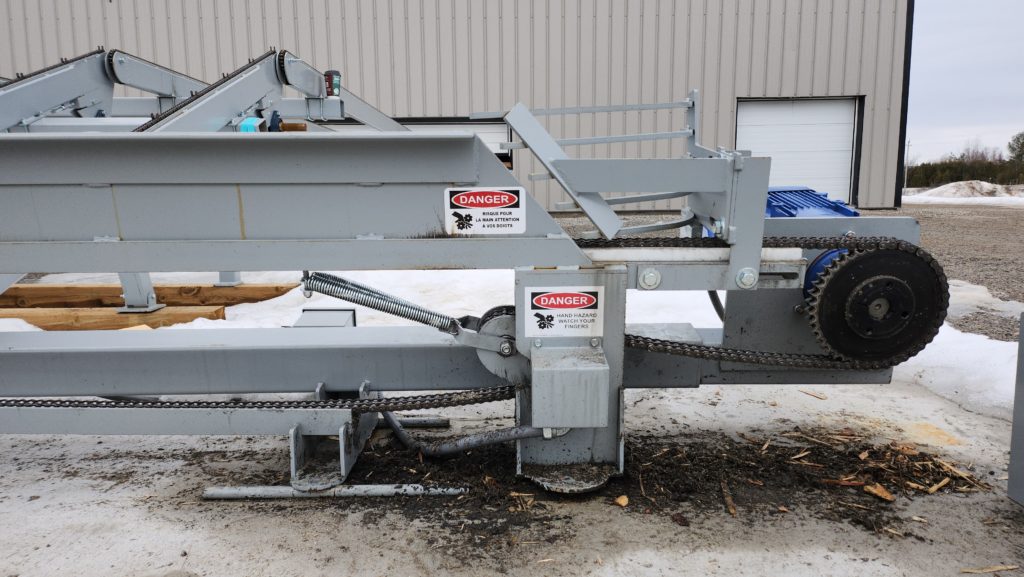
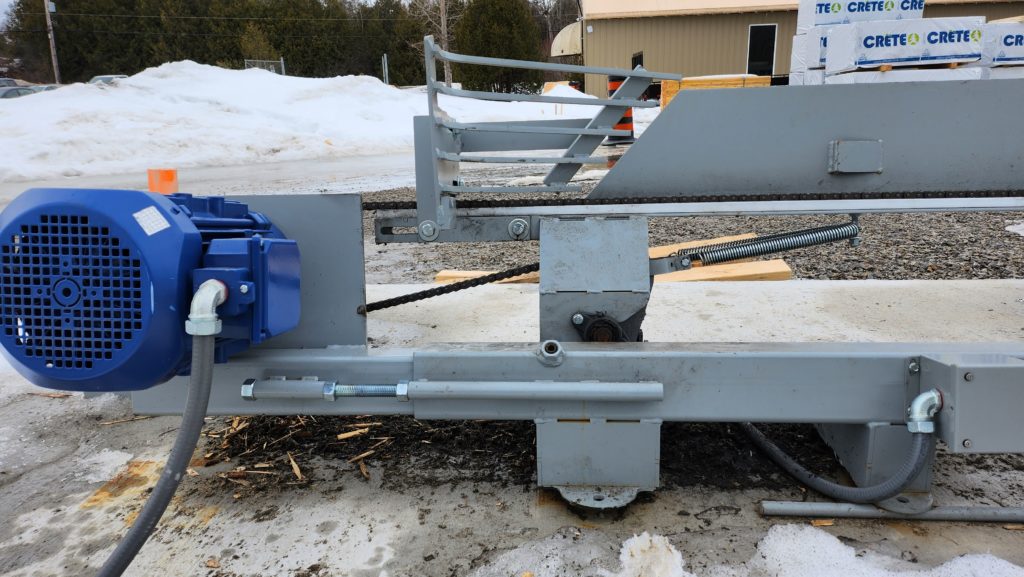
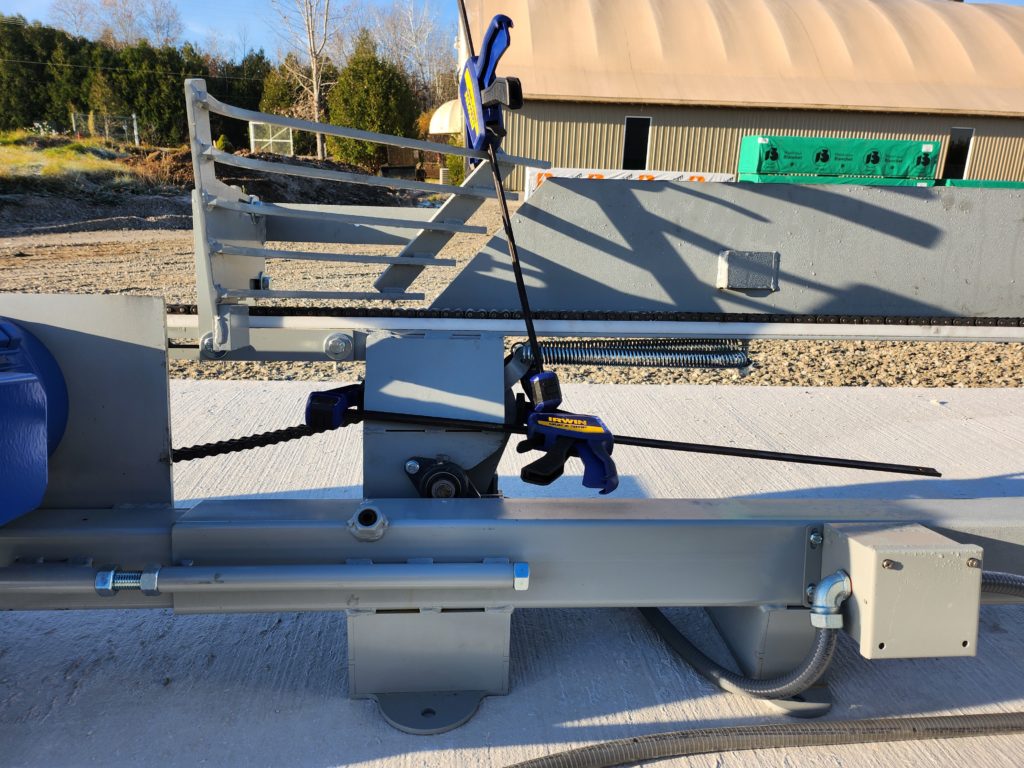
In the picture below you can see what a chain in need of tensioning looks like. The tension idler should be vertical (not horizontal). Pushing the motor assembly outwards will pull the tension idler vertically, resulting in the correct tensioning of the chain. The lumber trough chain needs to be tensioned if it is well lubricated and the tension idler spring is still wobbling/oscillating. This will be very noticeable in the rain. After lubing the chain if the excessive wobbling does not go away, the chain needs to be tensioned.
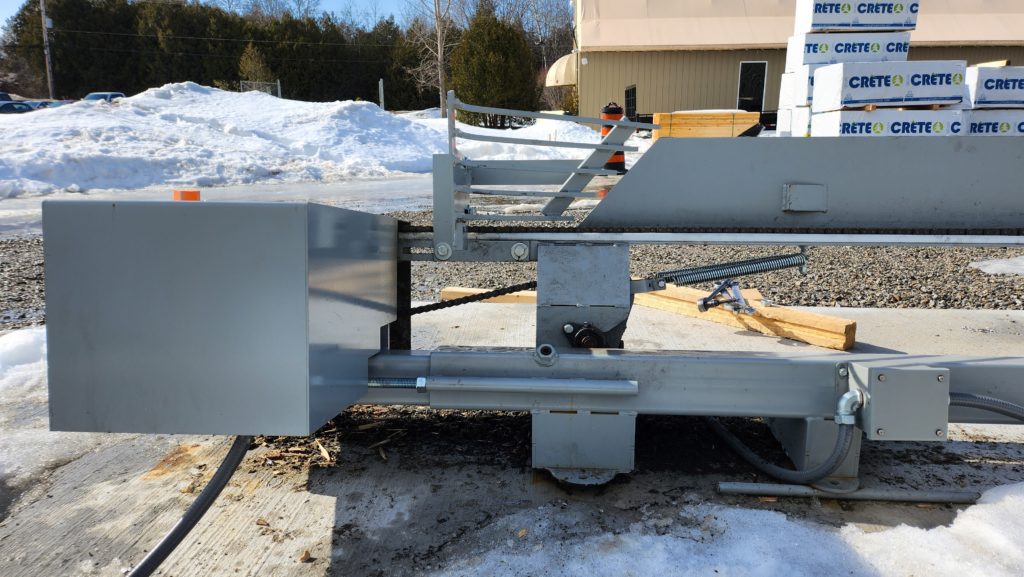
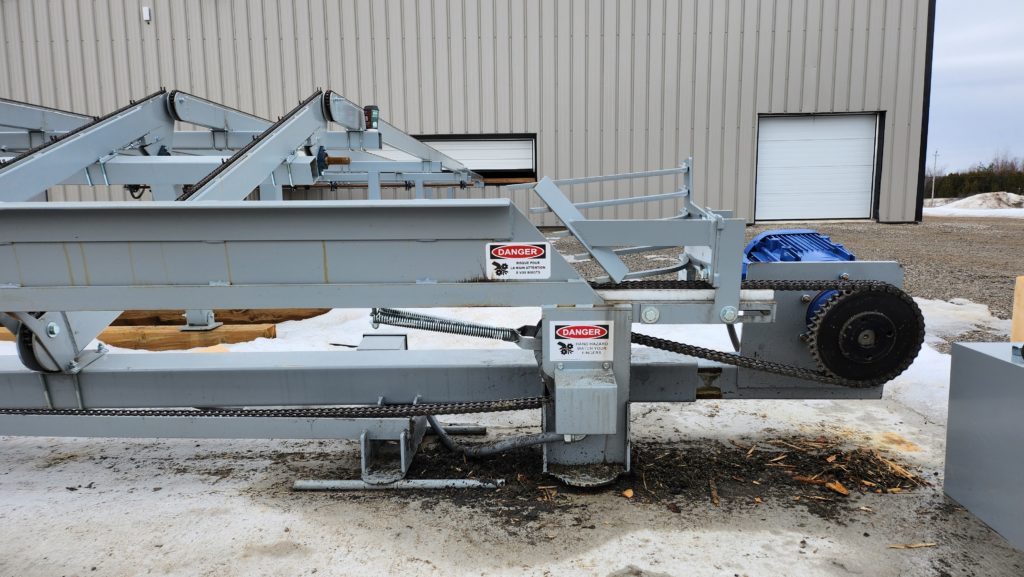
The picture below is a properly tensioned chain
This chain (below) needs lubrication Run the chain and drip “used truck/car engine oil” onto the chain for a complete cycle.

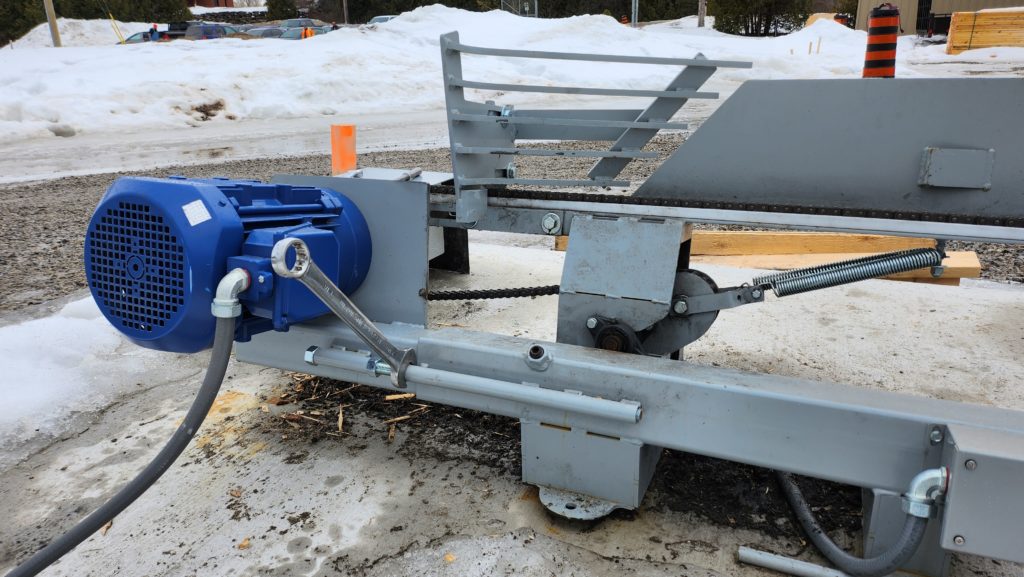
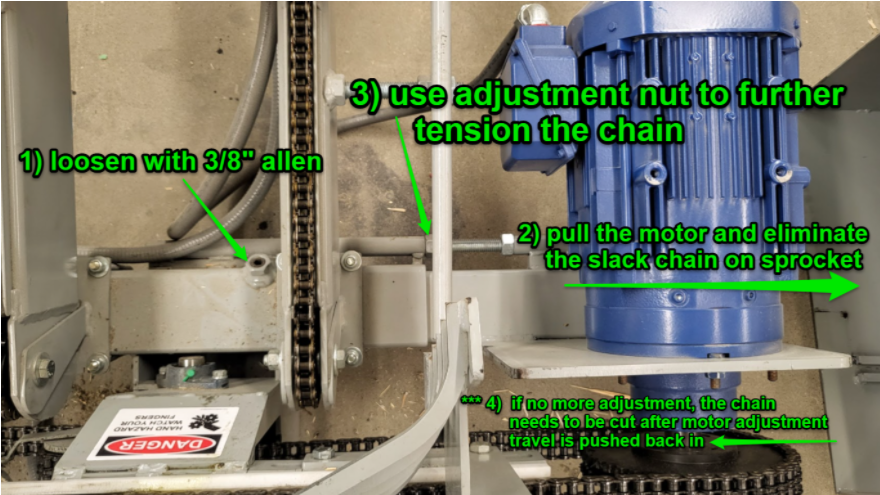
The chain can be quickly tensioned by using a 1-1/8″ wrench (or crescent/monkey wrench) after loosening the black 3/8″ hex bolt. Please note the amount of adjustment left in the threaded rod compared to the length of the hollow tube shown on the right side. (The shipping nut has been removed)
Correct tensioning. Note that the threaded rod has been extended approximately 3inches and there are at least two (2) more adjustments that can be made before the chain needs to be cut.
Correct tensioning
After tensioning the chain and running the motor, the chain will stretch. This is expected there is no need to re-tension the chain.
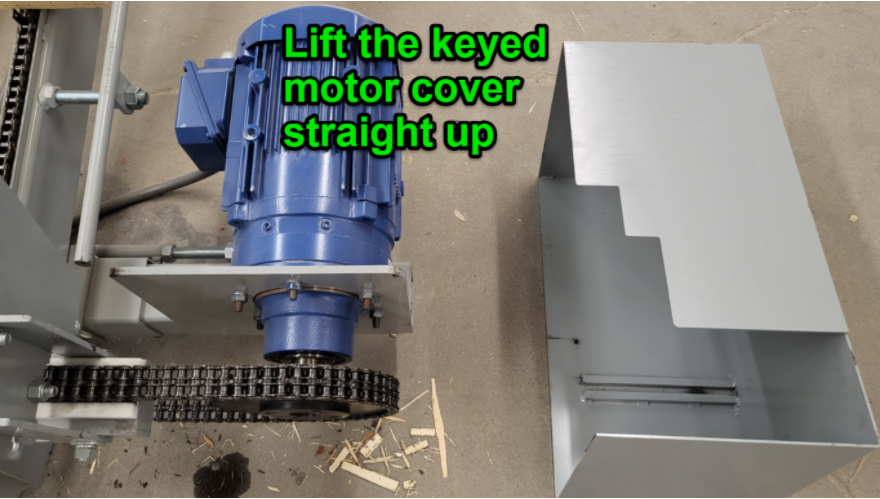
HOW TO CUT THE CHAIN
DO THIS ONLY WHEN THE THREADED ROD TRAVEL DISTANCE HAS BEEN USED UP When the adjustment threaded rod is maxed out, then the chain will have to be cut following the procedure below:
To take out the chain slack use the threaded rod adjustment described above until you run out of adjustment. If you need to “cut the chain” reset the motor adjustment travel first.
Chain tensioning idler should be close to “vertical” (Use clamps or straps to tension and hold the idler in position to figure out how much chain to cut)
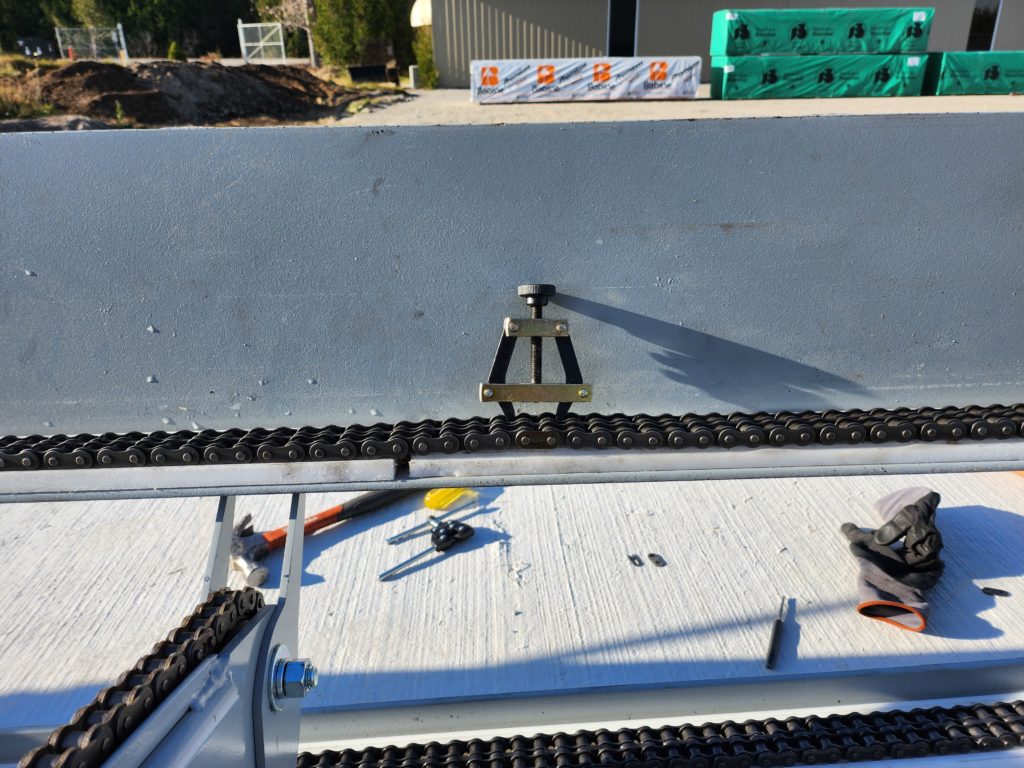
Use a “Chain breaker” to remove the excess section of chain

Use the chain caliper tensioner to insert the master link