-
Retro C
-
-
- Articles coming soon
-
-
-
- Angle (Arch) Movements - Overview
- Angle Chains - Proper Chain Tension
- Angle movements over run when going to position.
- Diagnosing Unknown Noises Coming from Blade Motor
- Power or Wiring Troubleshooting for Angle Motors or VFDs
- Replacing an Angle Encoder
- Stuck Angle or Centerline - How to Recover & Recalibrate
-
- Centerline (Vertical) Movements - Overview
- Checking the Centerline Maximum & Minimum (Max & Min) Height Setting
- How to set the "Minimum" position for Blade #5
- How to Tighten the Centerline Slides
- How To: Calibrate Centerline 1-5
- How To: Calibrate Centerline 1-5 (Advanced)
- How To: Tension The Centerline Chains
- Replacing a Centerline Encoder
- Replacing a Centerline Gearbox
- Stuck Angle or Centerline - How to Recover & Recalibrate
-
-
-
- Common Retro C issues and solutions
- Countdown Timer / E-Stop Troubleshooting
- Scrap Belt or Scrap Incline VFD Disconnected: Troubleshooting
- Stuck Angle or Centerline - How to Recover & Recalibrate
- Troubleshooting: Encoder Unplugged Error
- Troubleshooting: The Stationary or Carriage Side Horizontals Won't Move Anymore
-
-
Linear Pickline
-
Plant One Projection
-
SmartConveyor
-
Sticker Printer
How to upgrade your Computer or Raspberry PI software
Retro C
Step 1: Locate the computer that runs your software. The Retro C’s computer is located in the touchscreen enclosure.
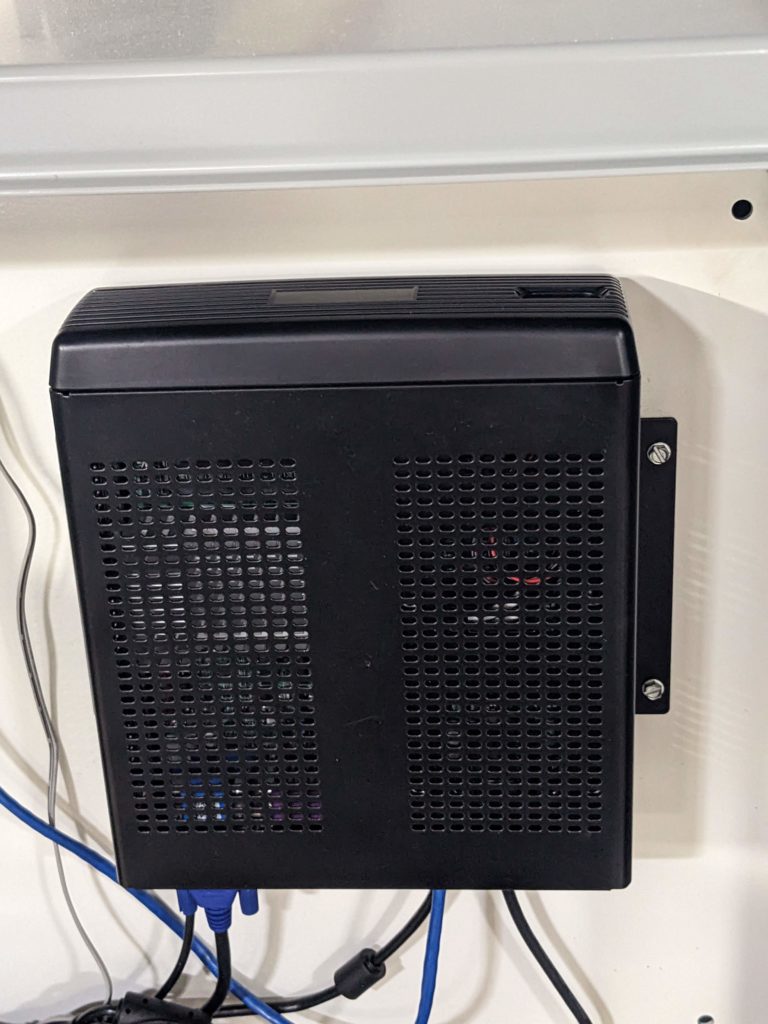
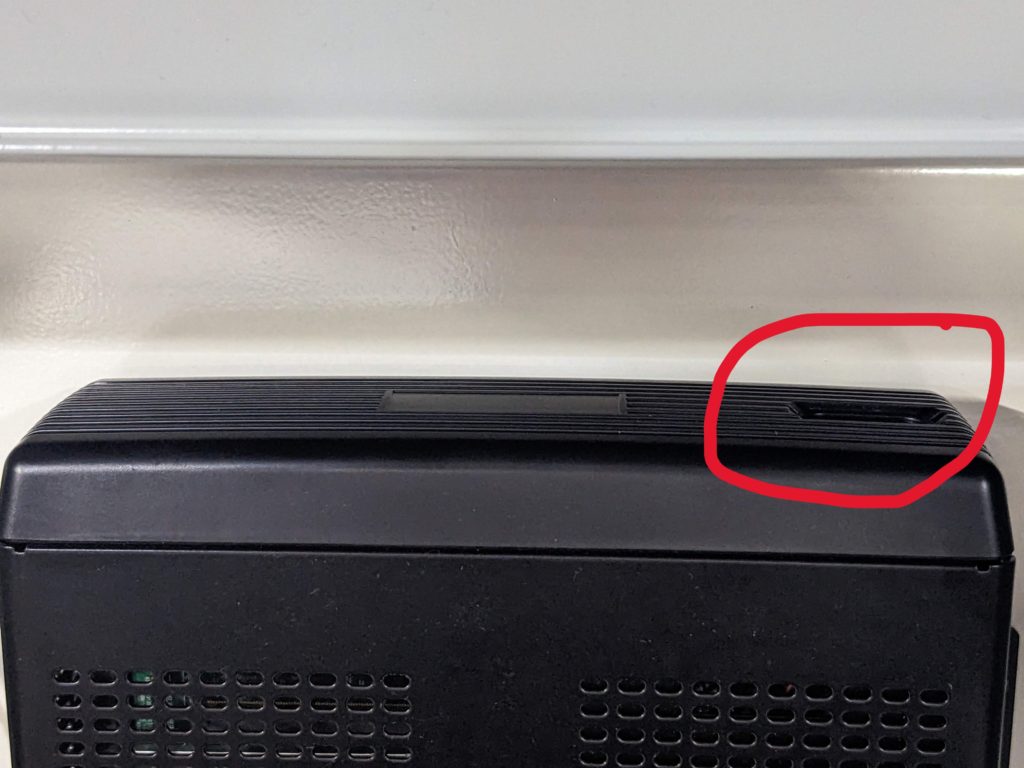
Step 2: Turn off the computer or pi by pressing and holding the power button (has a blue light) on the top right side of the computer
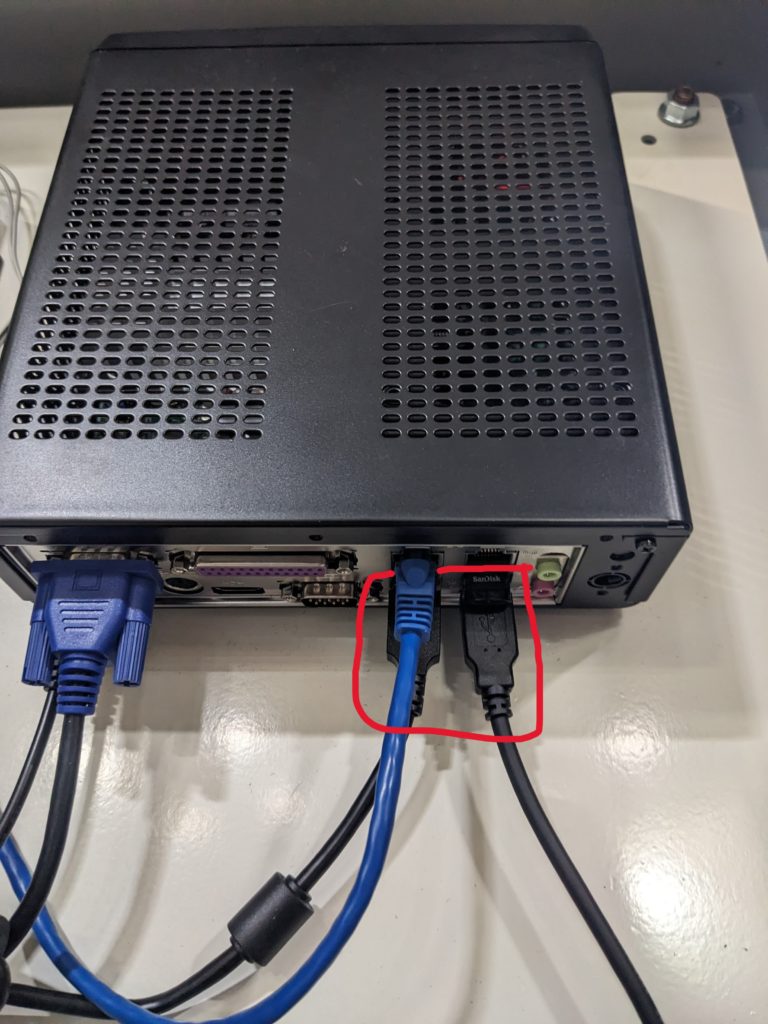
Step 3: Next locate the USB thumb drive already inserted into the PC and remove it. NOTE: If this drive is re-inserted into any USB port on the computer/touchscreen it can cause the computer to not boot up properly. NOTE: There are four USB ports on the button side of the computer it could be in any one of them.
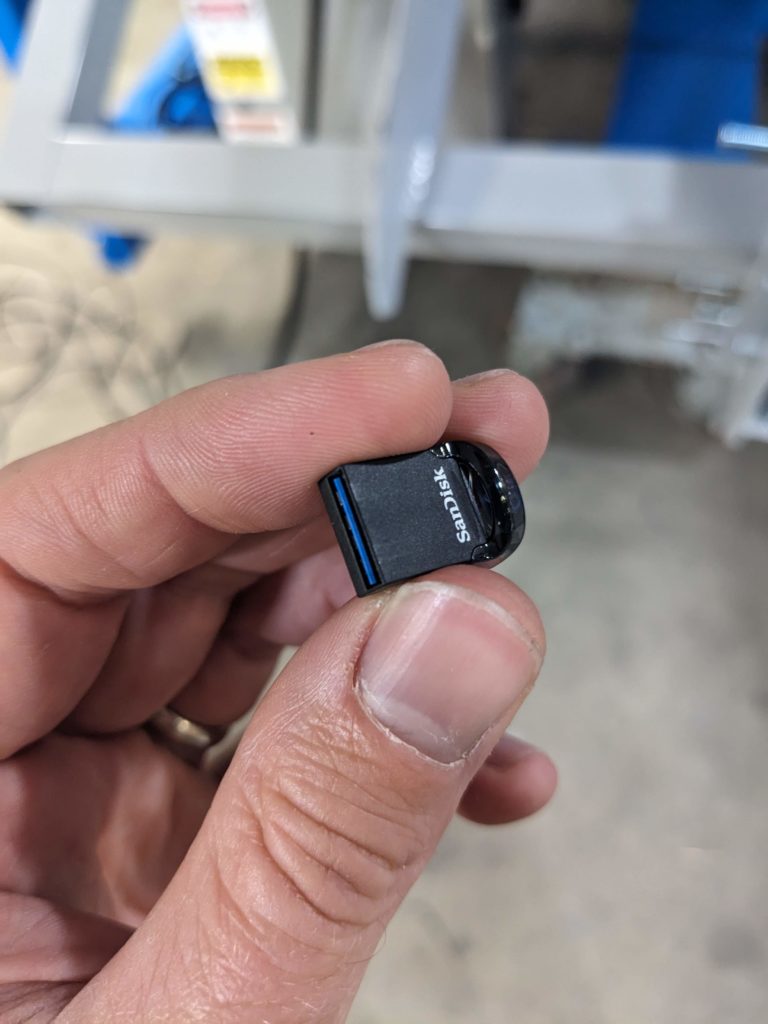
NOTE: the USB thumb drive is very small and easy to miss.
Step 4: Insert the new USB drive into the same port you removed the other one from.
Step 4: Power the touchscreen on
Plant One Projector & Front or Rear TVs
Step 1: Locate the Rasberry Pi that runs your software. Plant Projectors and TVs have a small raspberry pi computer that is likely zip tied to the tv or somewhere close.
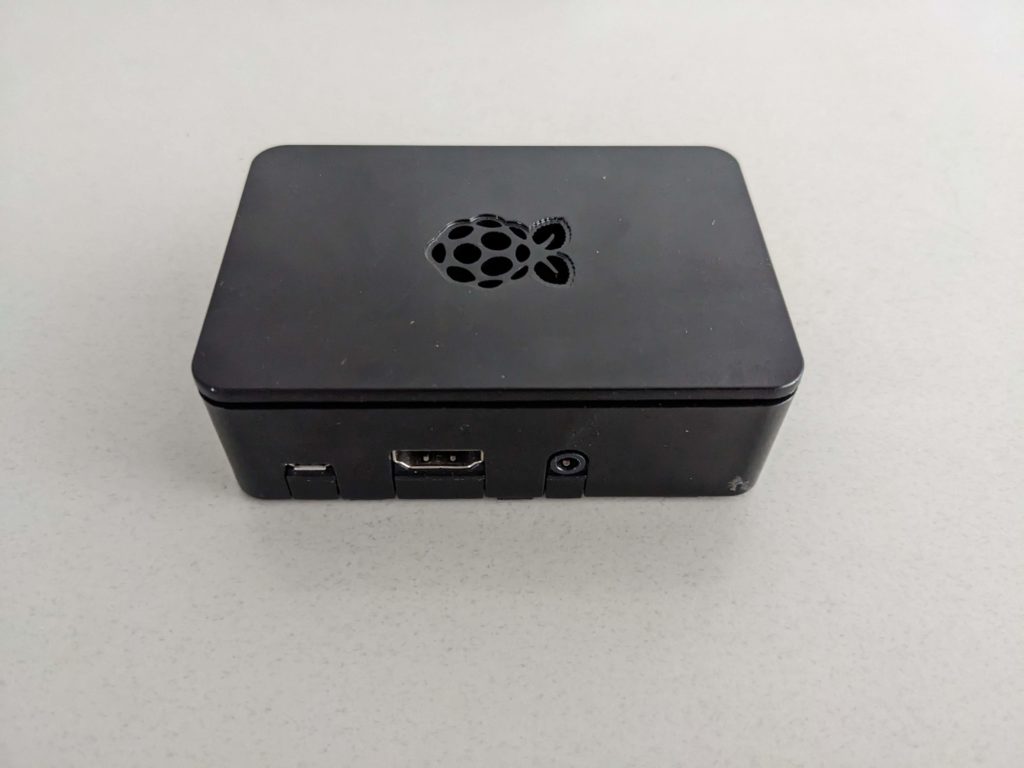
Step 2: Turn off the pi by unplugging the power cable. Usually this is a USB Cable
Step 3: Locate the micro SD card that is already in the device and remove it. Some have a spring mechanism that you push in slightly and then it pops back. The other style is just friction and can be removed using your fingernail.
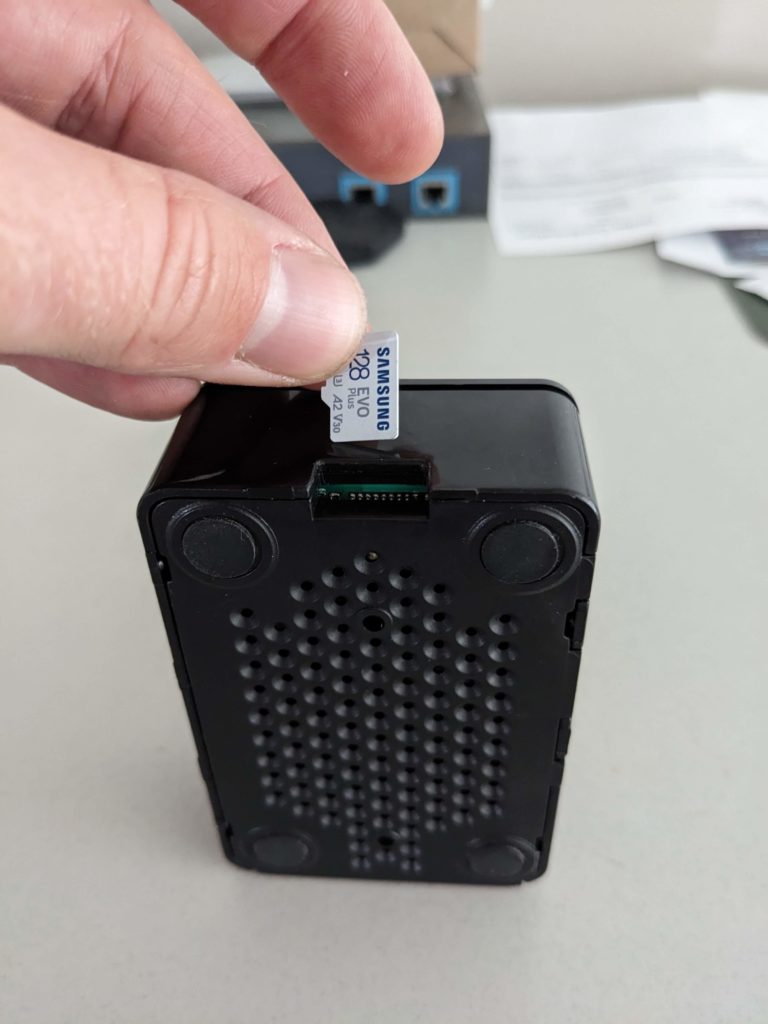
Step 4: Put the new SD card into the exact same slot,
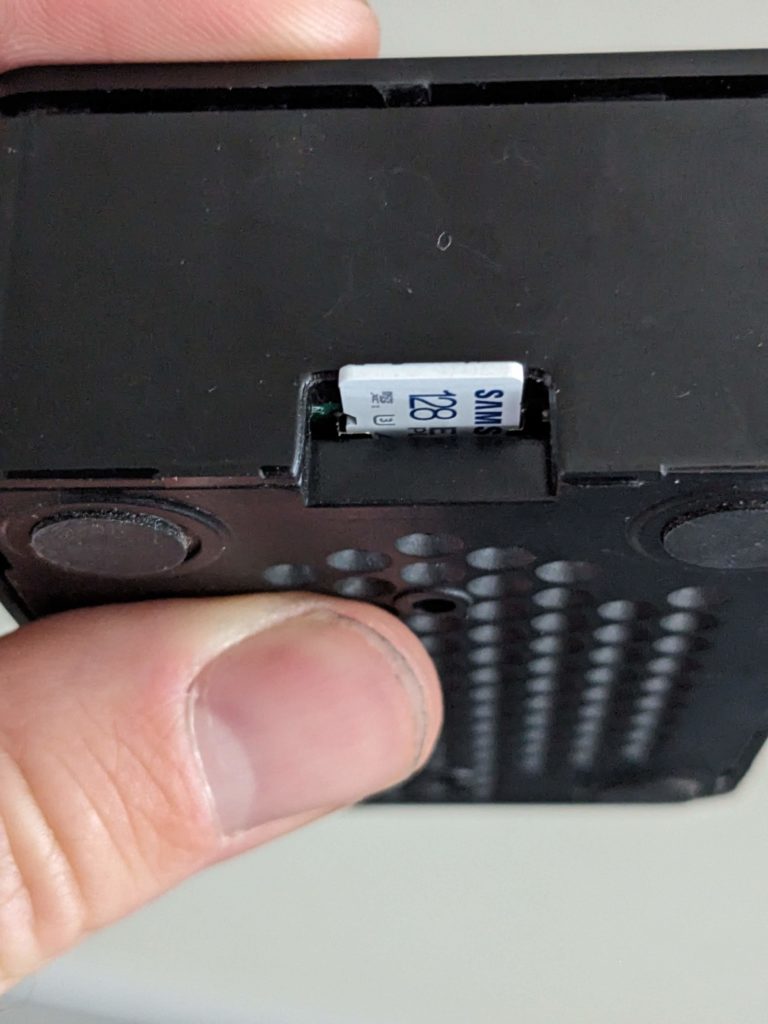
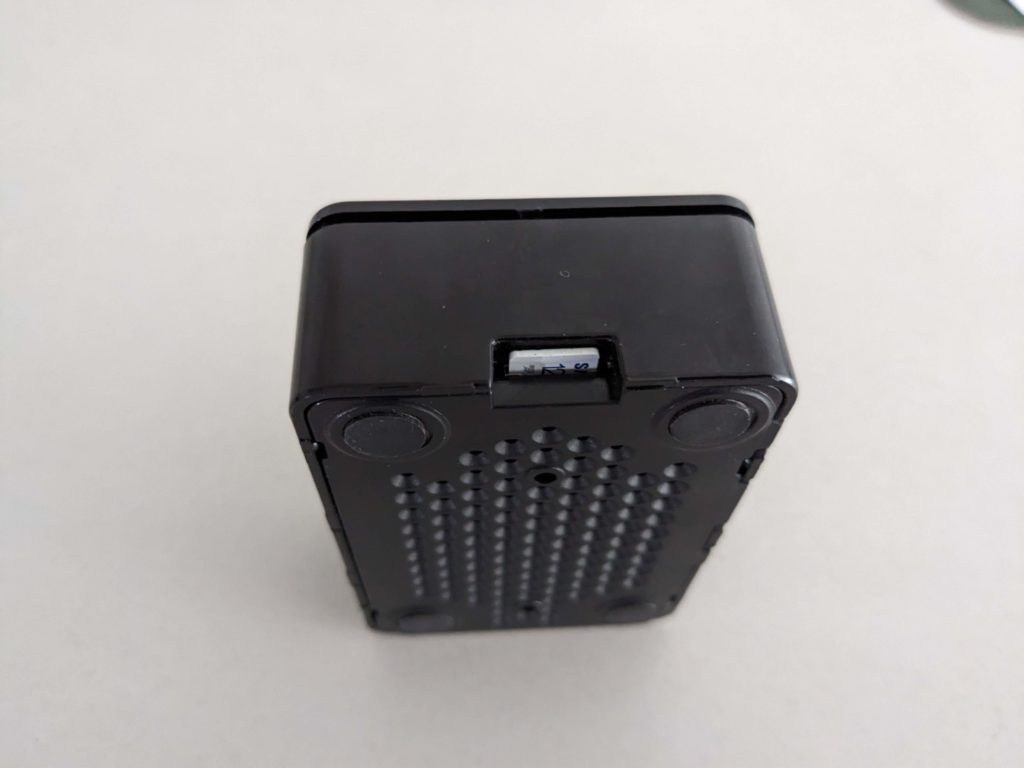
Push the card in until it is in place.
Step 5: Plug the power back into the device and make sure that the device boots up before zip tieing everything back up.